
The work begins
Living and working in the house was not a good idea so I extended my rent on the loft I’m living in and began ripping out the walls of the main room of the house. it’s 4m x 4m with a ceiling height of 2.2m … or 2.15 depending on where you’re standing. It’s only a 50mm (2 inch) difference in the width of the room, that’s normal right? (Sheesh!)
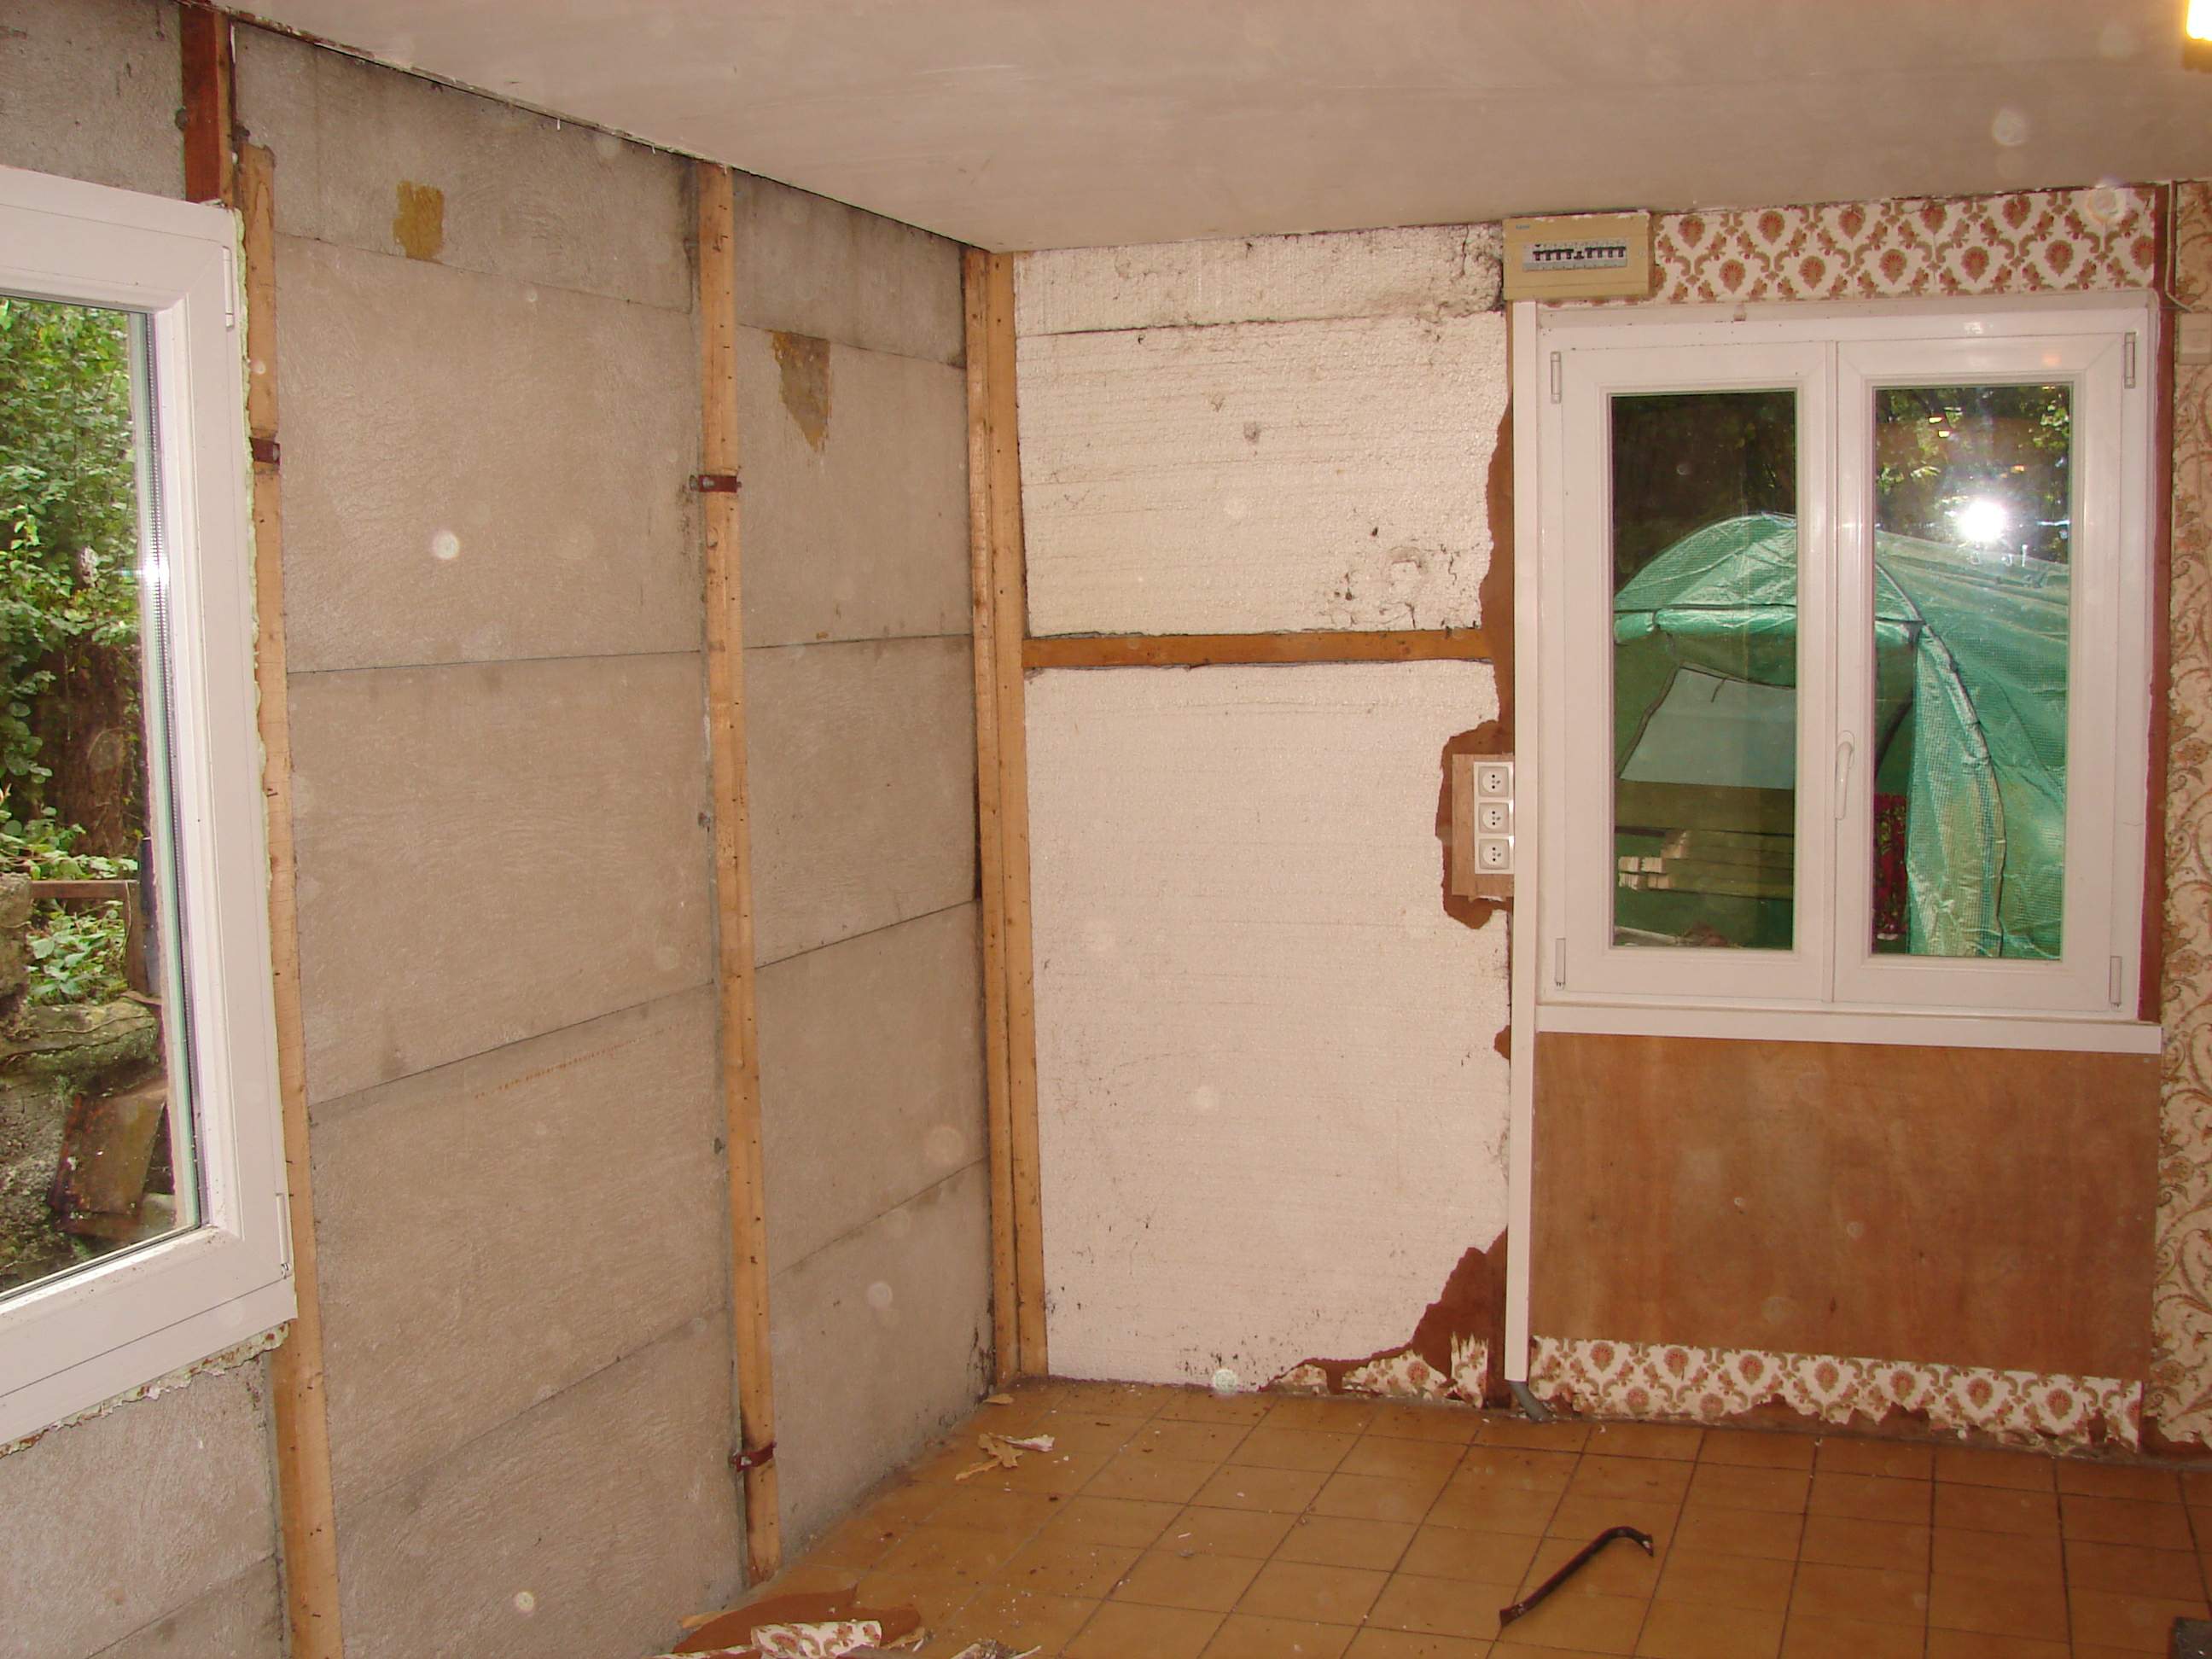
Anyway I began with taking photo of the East facing corner so here’s the sequence with explanations of the work as it progressed. The last pic of this entry how it is on 12th Nov 2013.
My blank canvas… sorta. I just hope I don’t end up regretting losing that wallpaper

With the hardboard panels removed (yes it was hardboard fixed only on the edges) it revealed 20mm polystyrene which I lifted out and stored off camera. This shot clearly shows the concrete panels that make up the cabin’s construction.
Having seen silverfoil backed insulation and me being a penny pincher I decided to make my own. So I trundled off to the local Marché and bought four rolls of 30m kitchen grade tin foil for under €5 for the lot. I then set about wallpapering it to the concrete using cheap bathroom silicon sealant. Worked a treat gluing the foil to the walls.

Then I put the polystyrene back in place. The looped conduit is for a plug socket I plan on having on the outside corner of the house.

All the external walls got this treatment. Figured it’d keep the place cooler in the summer and cosy in the winter. You don’t hear the Christmas turkey complaining of being cold do you… except on Boxing day perhaps.

With the polystyrene back I battened out the walls with some 10mm thick boards I had kicking about. These hold the insulation in place and creates a sort of cavity between the next layer of insulation.

This is 2.5m x 600mm x 40mm solid insulation panels with tongue and grooved edges to lock together. Went in a treat too.

The end wall got the same treatment and I taped all the butt joints to stop cold spots or thermal holes appearing.
Next step was building the studding for the walls. I opted to use 70mm x 40mm timber for this. I screwed this whole thing together, rather than nail it, hammering in nails seems so brutal, but with a battery drill and screwdriver bit it’s make for an easy job, not to mention much stronger.

The proud owner with the “I built that and it ain’t fallen down yet” pose. (Note the use of the spirit level. Something the previous owner didn’t seem to invest in.)

Next stage was running the wiring conduits behind the walls. With the ceiling being so low I’ve opted for wall lights. I kinda like that softer ambient light it gives off. (ooh hark at ‘im!)

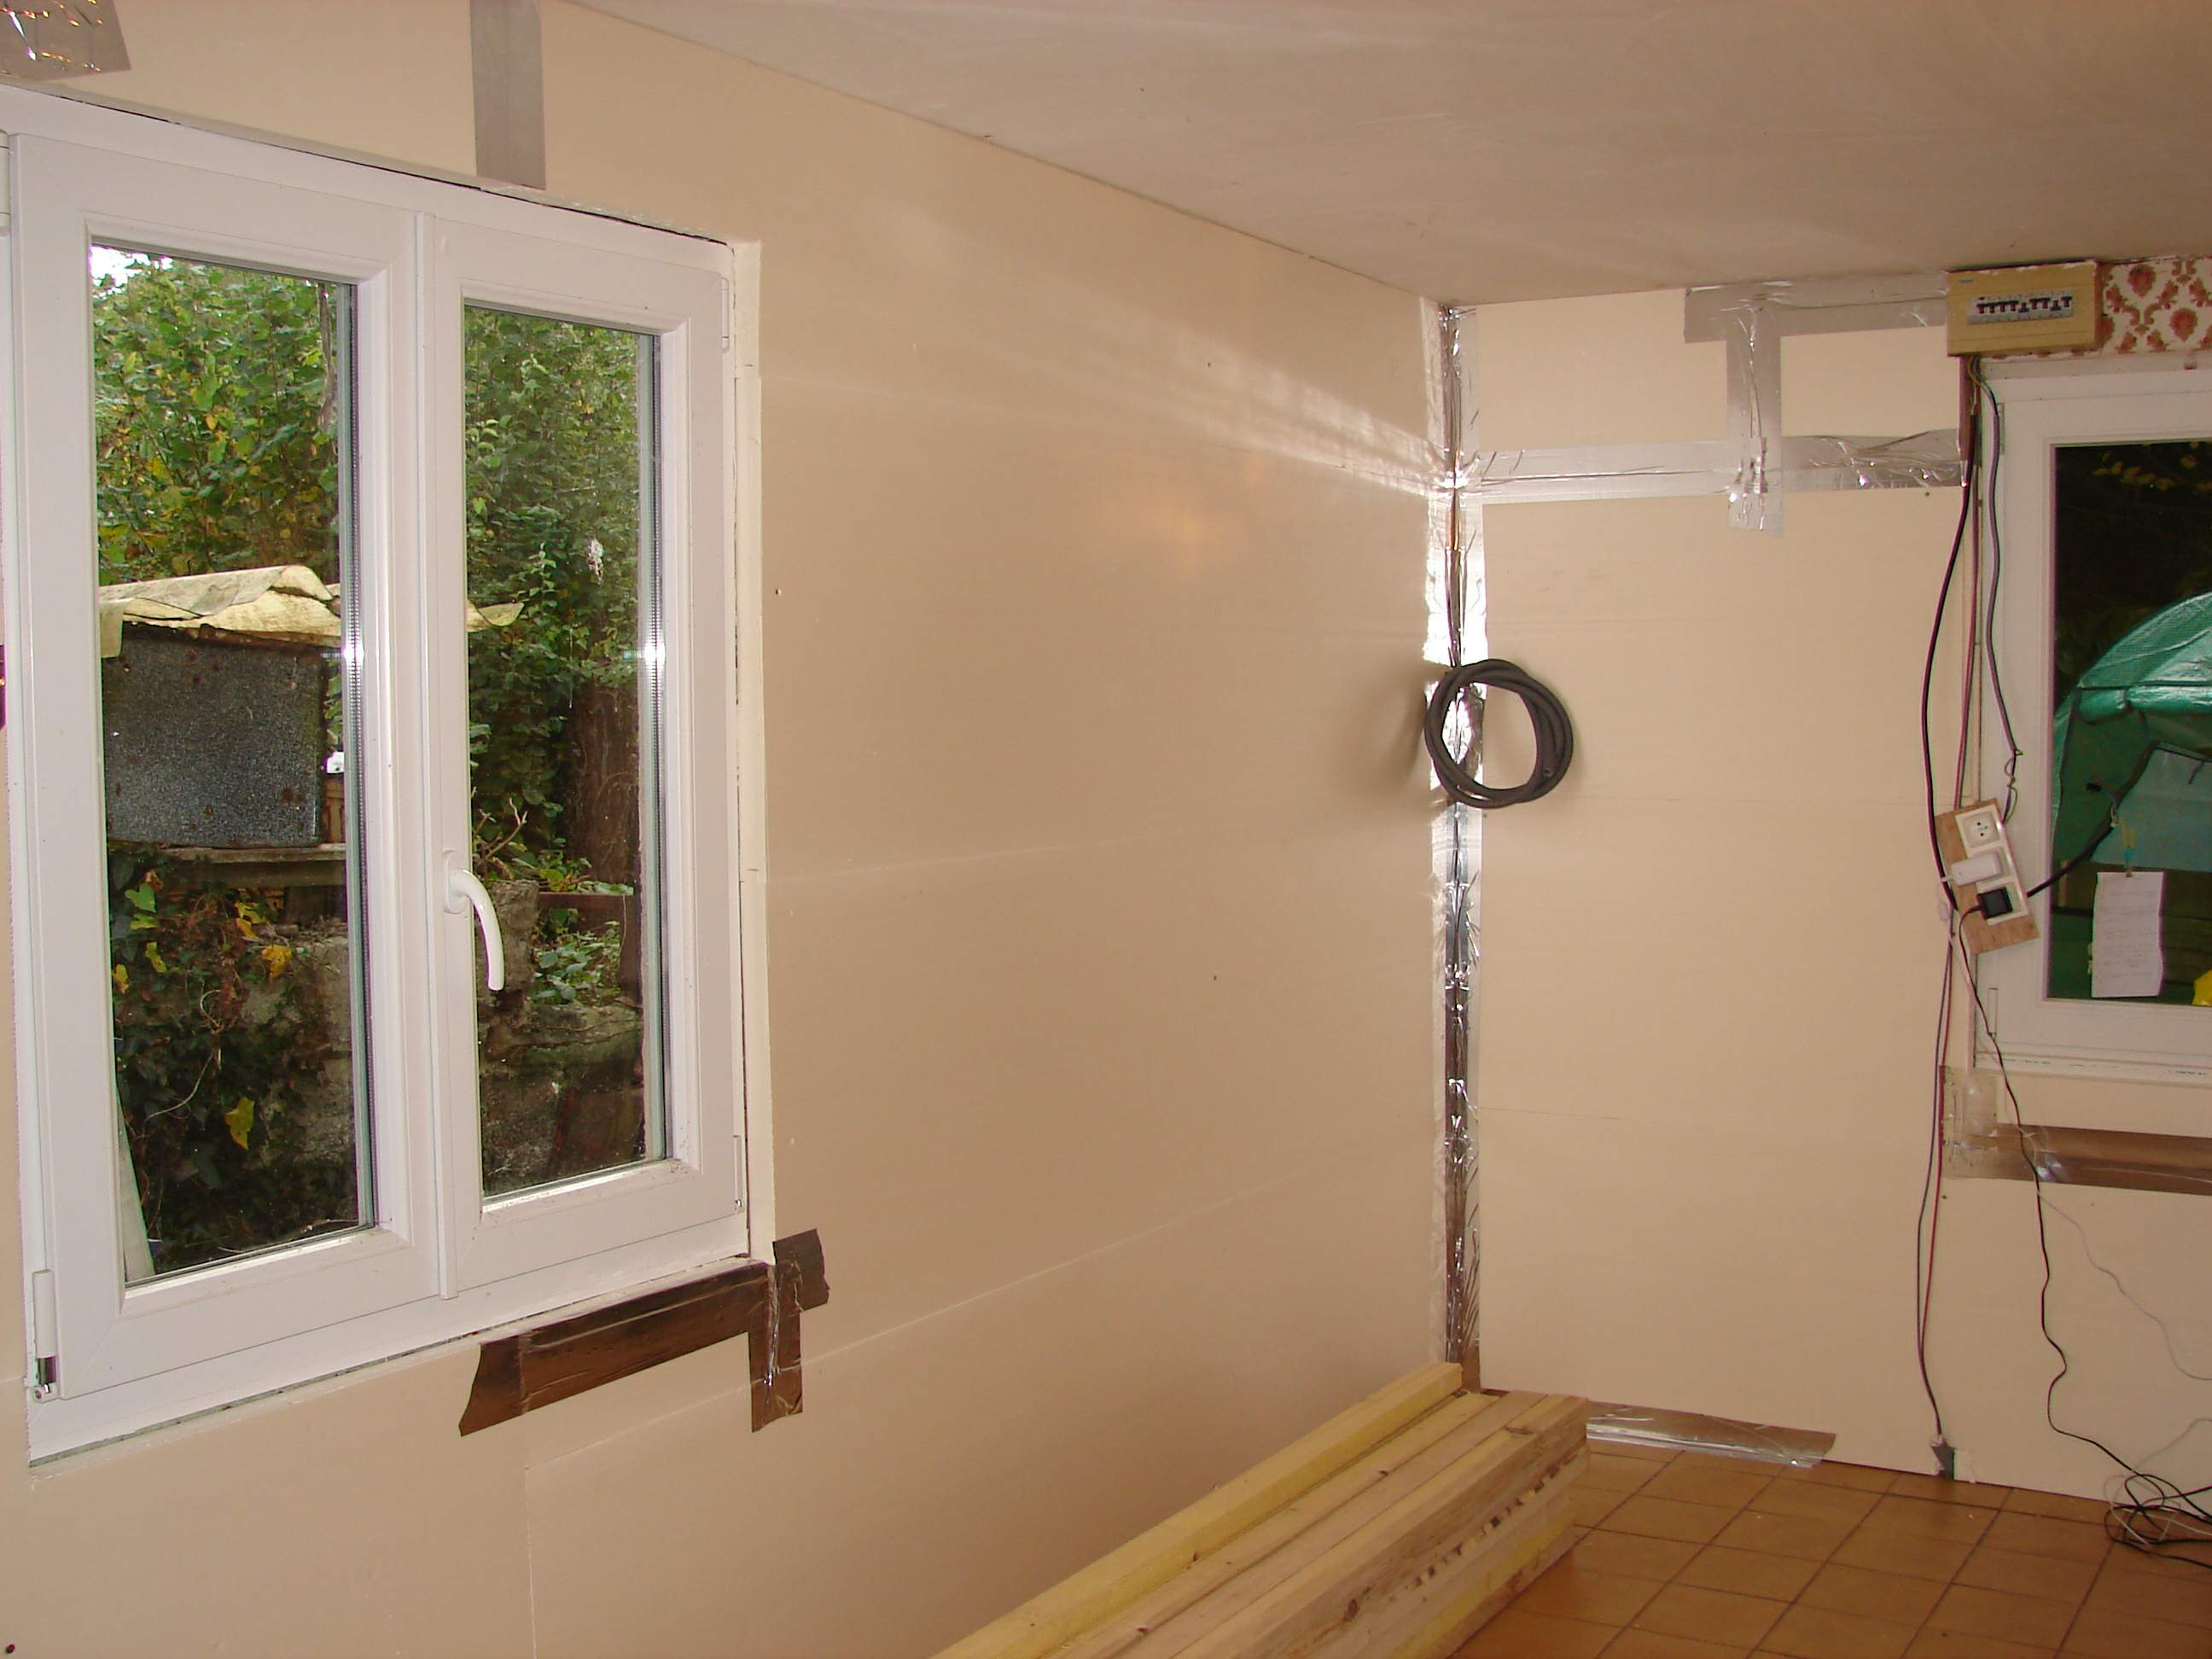
And here it is as of 12th Nov 2013. Plasterboard is up and the wiring in place. I started work on the other corner which I’ll show you in future updates. But basically it’s a repeat of this process.

I’ll tape the joints and then give the walls a light skimming of filling plaster to cover the screw heads and the joints and that should be good enough for a coat of paint. I’m thinking candyfloss pink or even daffodil yellow would look lovely… gloss paint of course, only the best for my cabin in the woods. Wotcha fink? 😀

Looking good Aaron made short work of that lot didn’t you lol, looking forward to watching your progress mate!
Dave
Speaking of short, is that my eye sight, or is the ceiling quite low? Either that or you’ve grown mate!!
Looking good, Aaron. Pity you haven’t got me to do the joints and plaster skim, lol! Get your log burner in quickly though … snow’s coming.
Glossed walls?! Handy for wiping the blood off, I spose!! 😉