
The Fireplace corner
It’s been a couple of week since I posted anything but that doesn’t mean I haven’t been doing something. I have. I moved in! (Whoo hoo!) As of 16th November I am now in the house 27/7. Big thanks to Rosie and Simon of Eco-Gites for the temporary home I was able to have living in their outbuilding loft. I was really cosy in there, but it’s soooo nice to be here now.
My little cabin is far from finished but it is livable to a certain extent, an 18th century pioneer or mountain man would call it luxury. 21st century westerners would call it pretty basic. I do like the simpler things rather than all the bells and whistles.
I was in here a week before I was able to get the hot water boiler to work and another week after that before I was able to get the shower up and running, though to call it a shower is being rather generous. I may well resort to standing in a big plastic bowl again like I did before if I decide to opt out of using the shower.
Anyway back to the reason for this page – The Fireplace corner.
My cabin will be heated primarily with a woodburner once I get it installed. At the moment I am using a single oil-filled electric radiator to keep the place ticking over. With the insulation I have on the walls it seems to be enough, but then it’s not bitterly cold… yet.
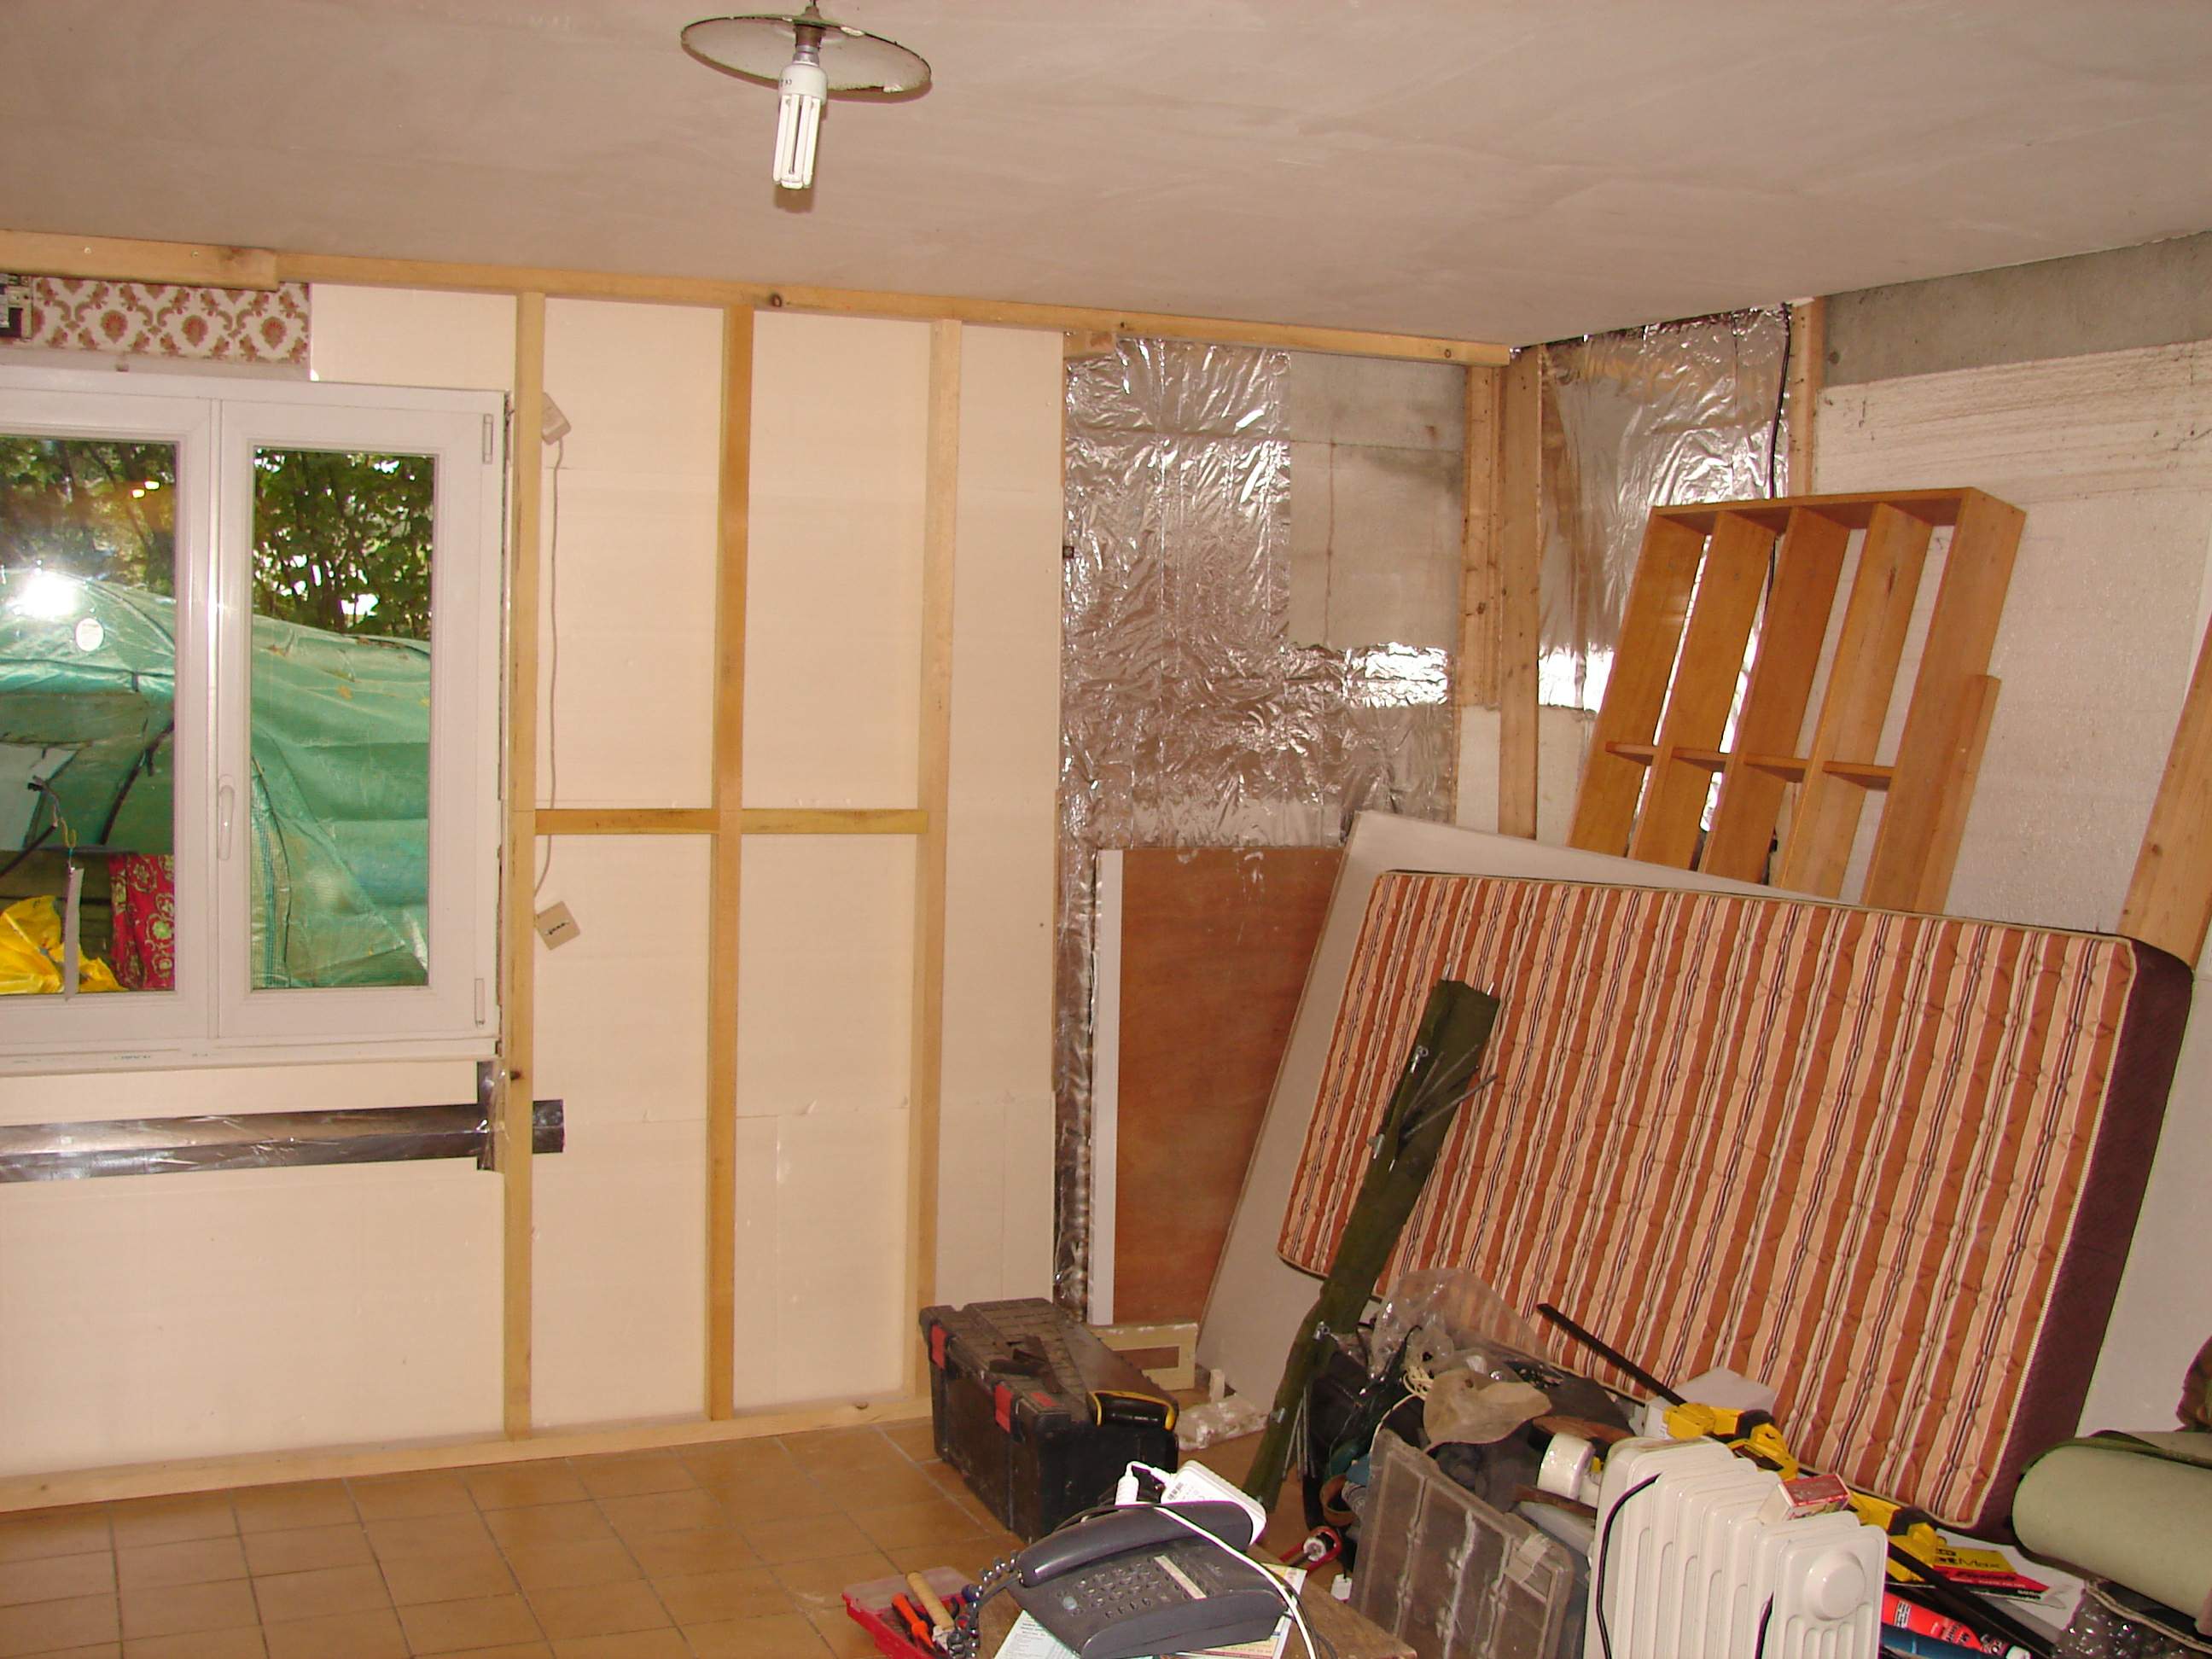
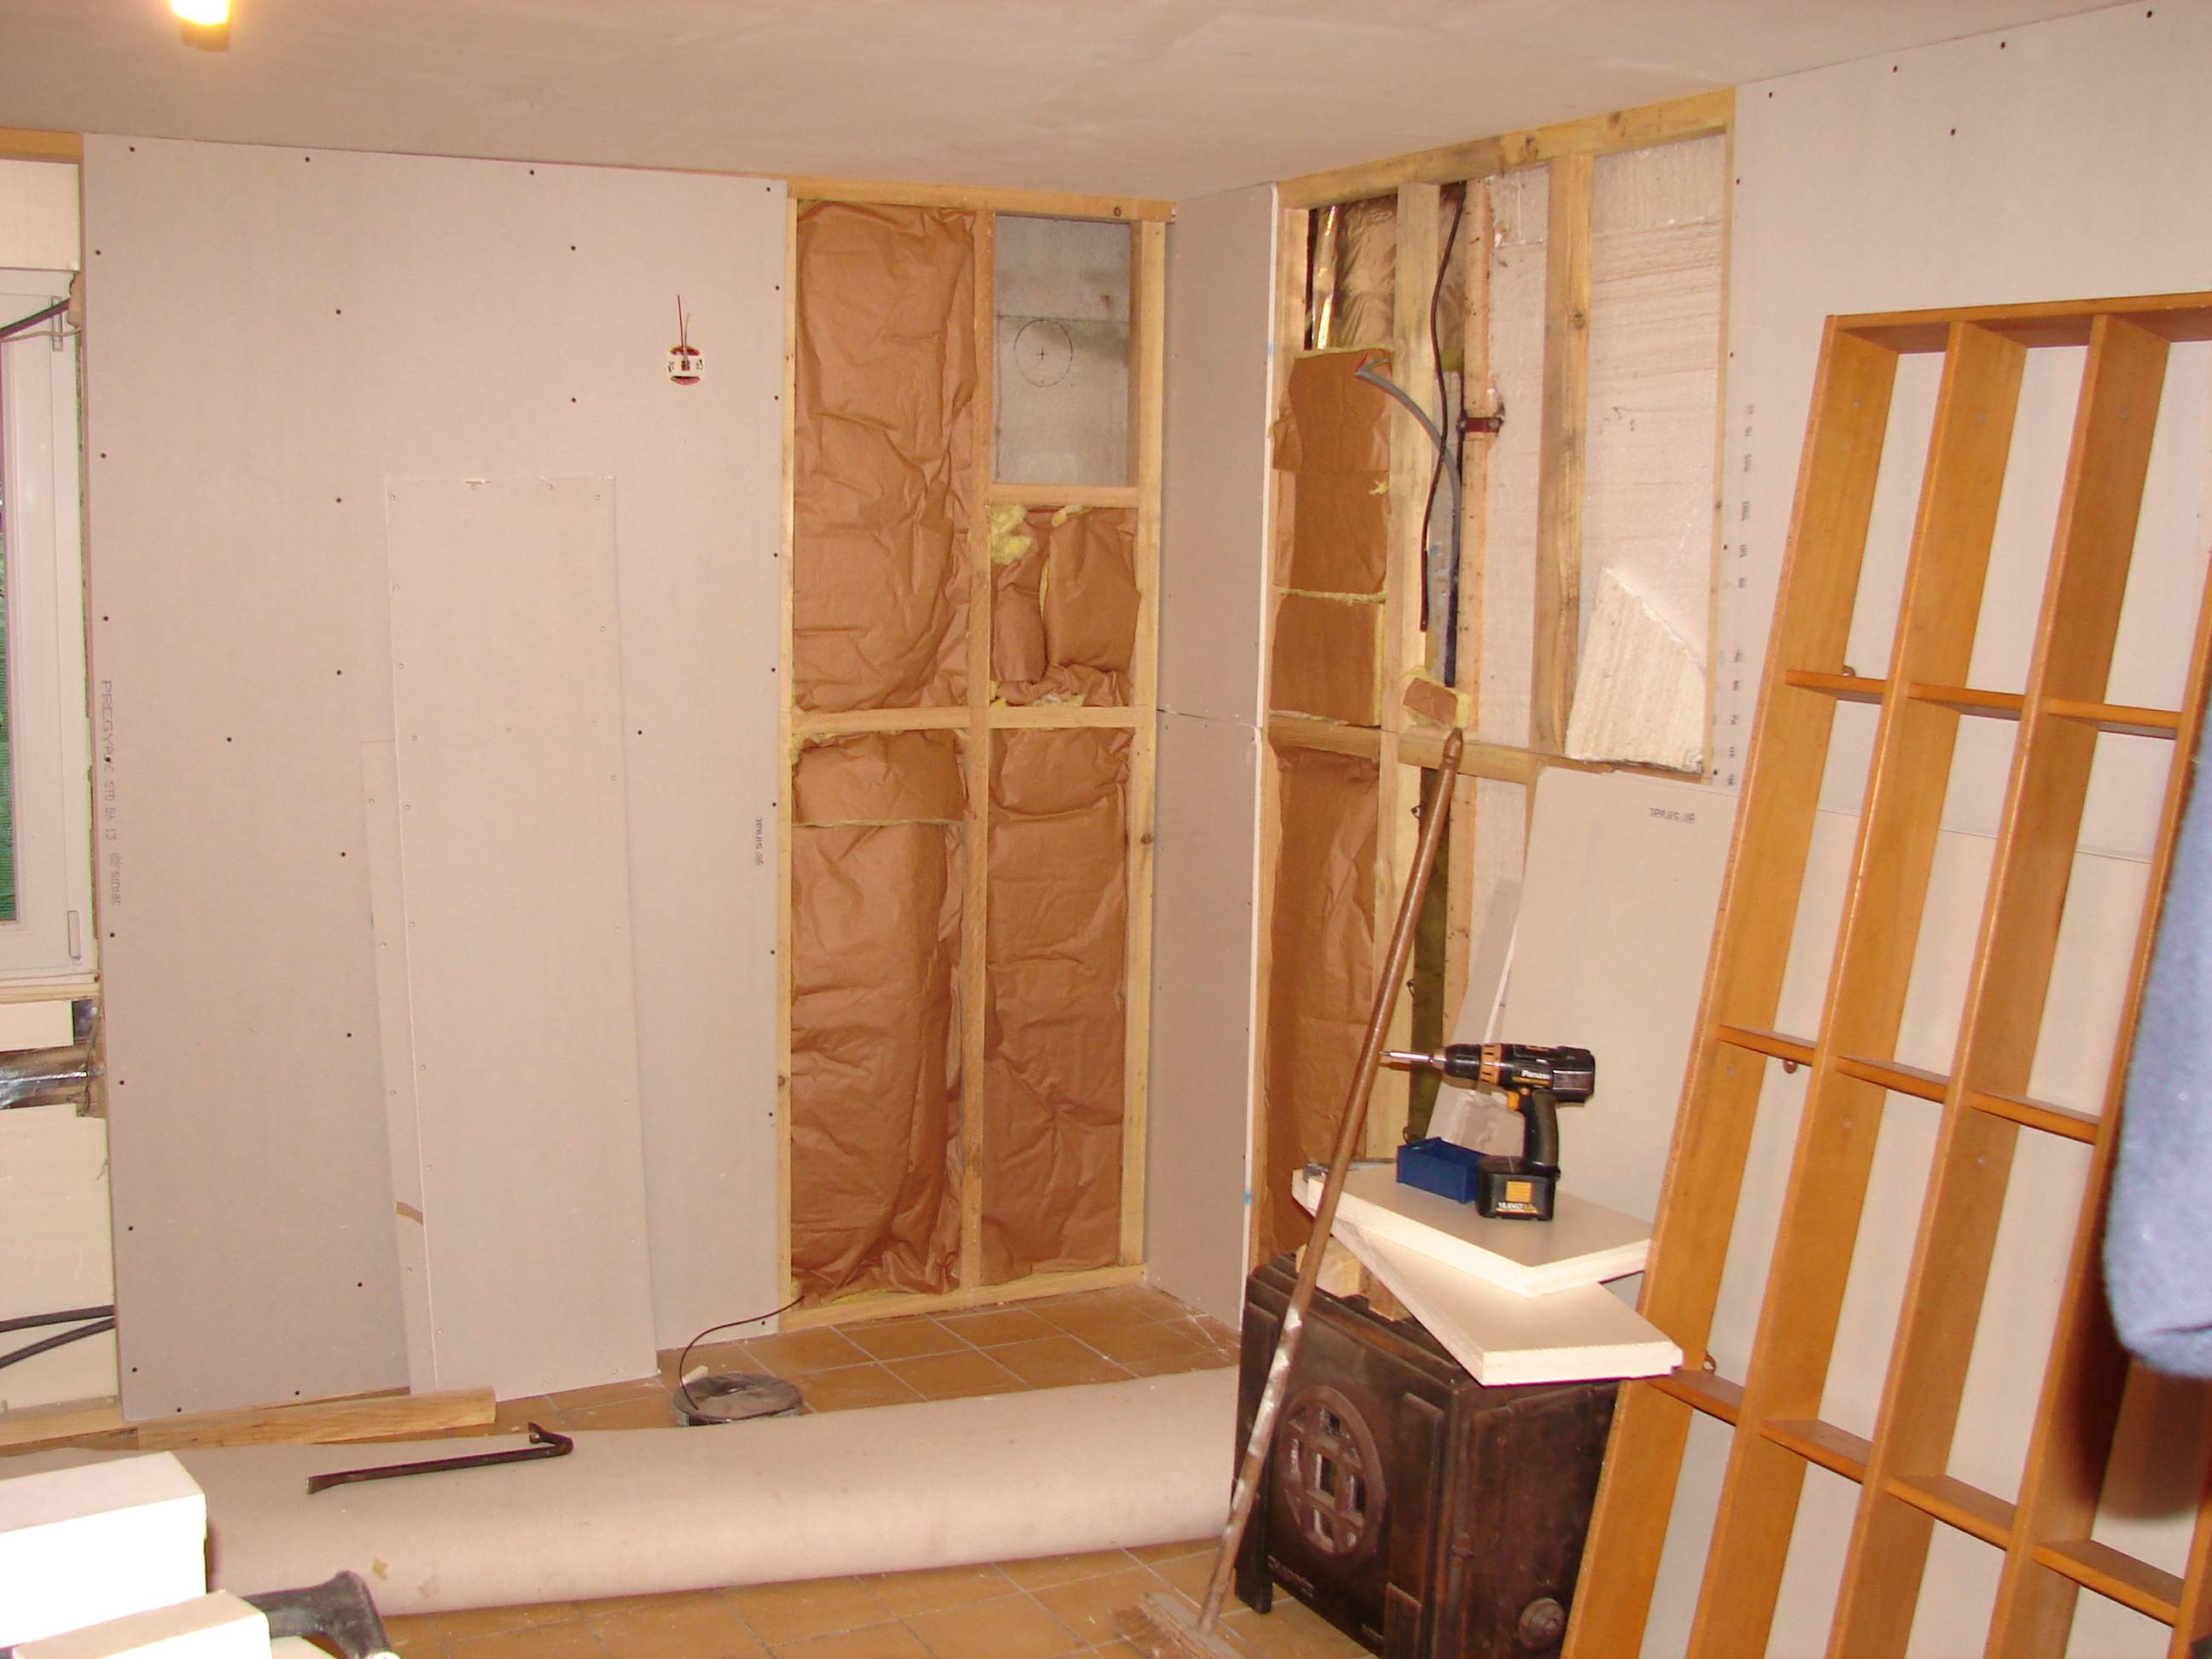
So here’s the intended siting for the fireplace. The south facing corner of the single main living room of the house.
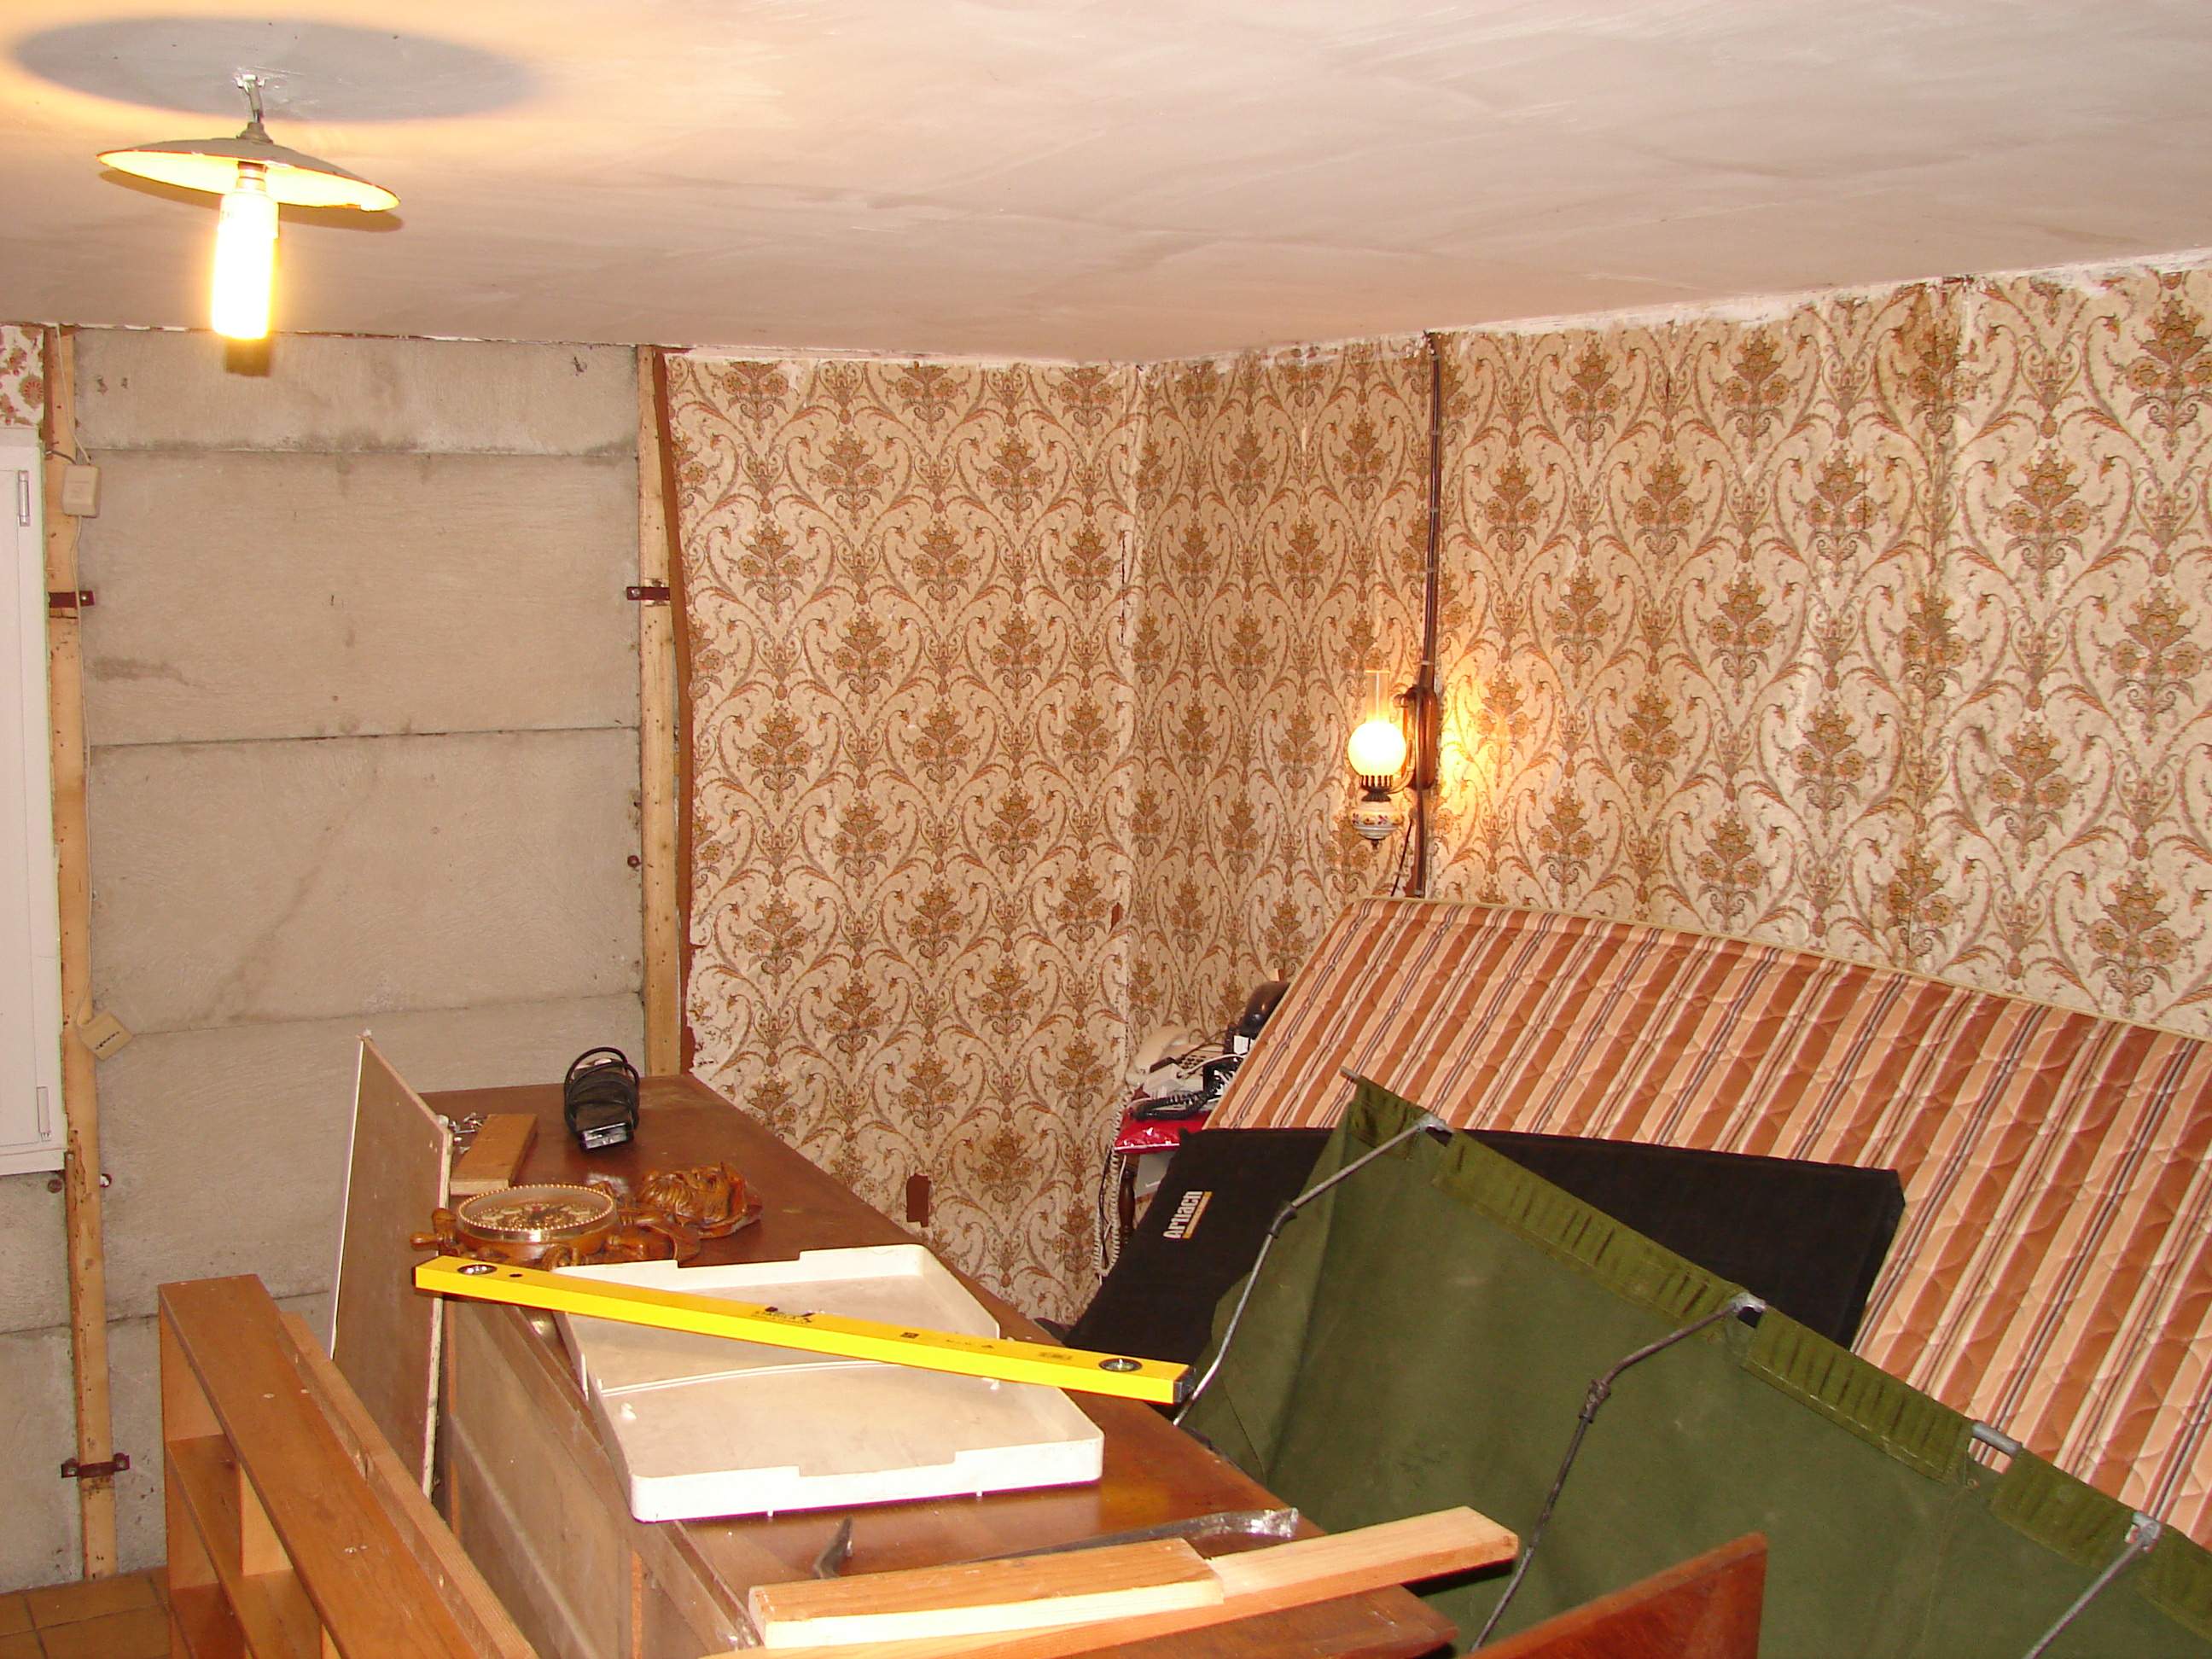
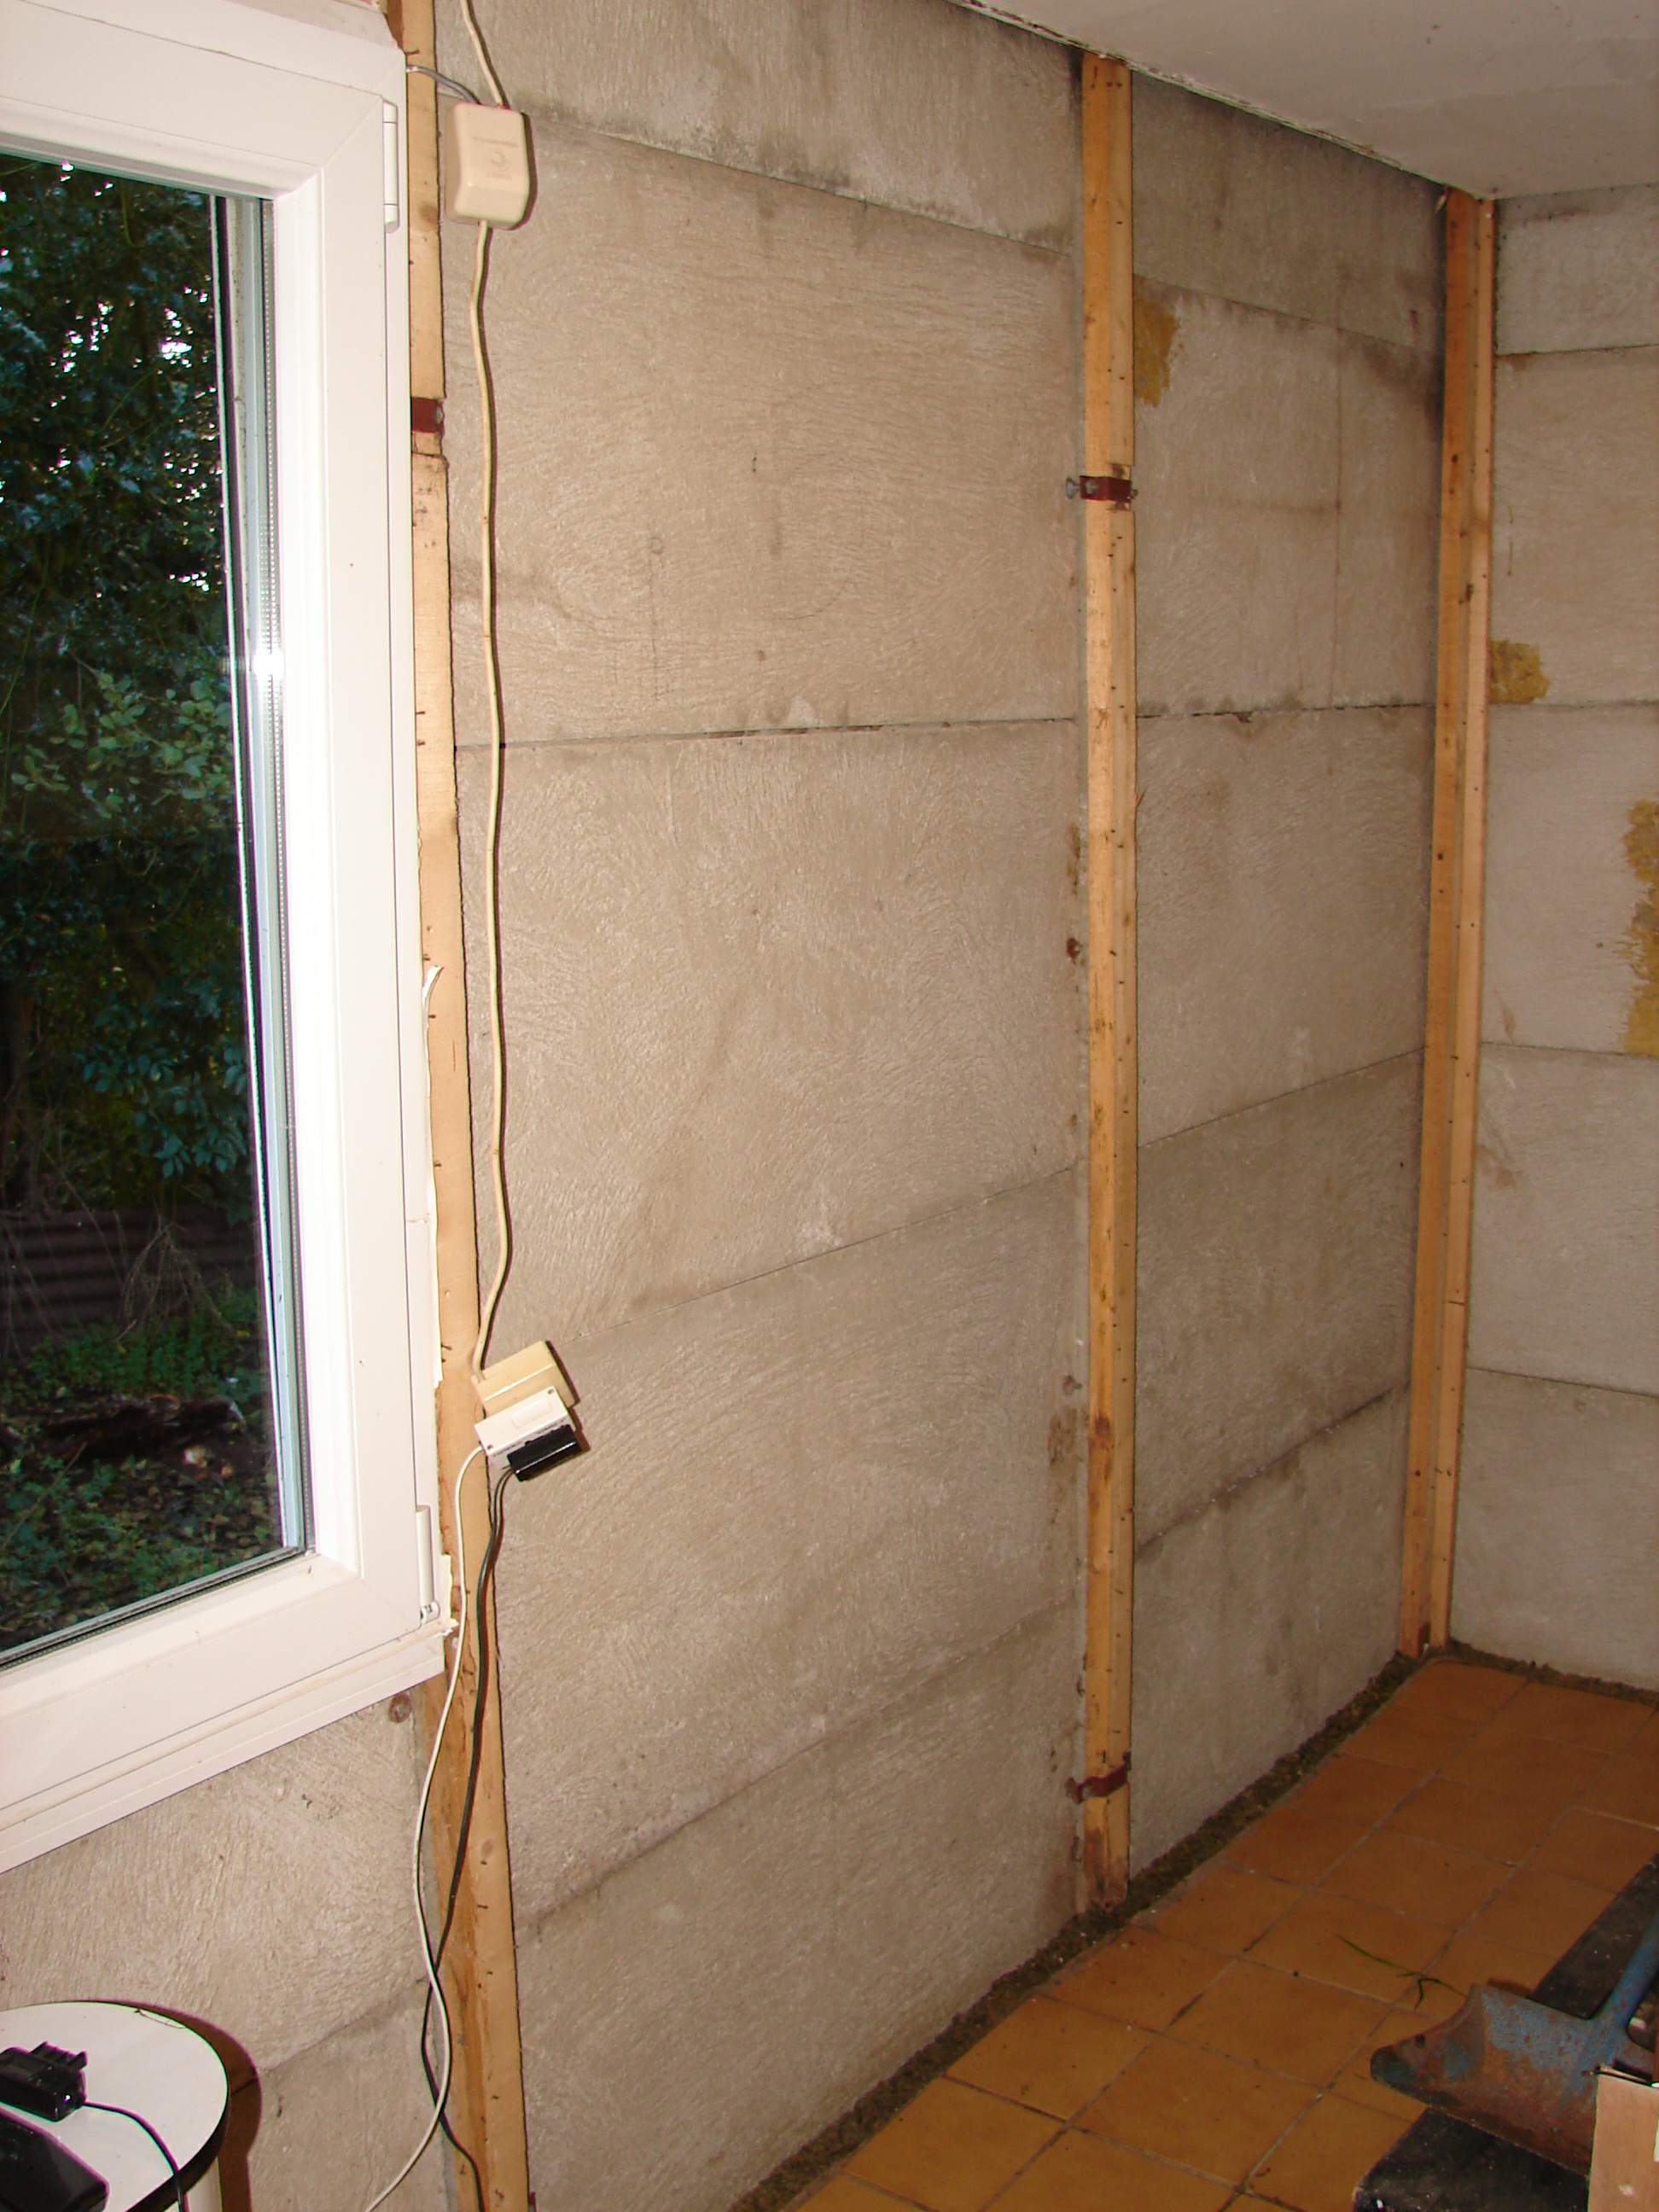
As with the other walls I tore out the hardboard cladding and then the 30mm polystyrene sheets of insulation. This revealed a very dry concrete slab wall. Even the wood uprights are good and dry. Baring in mind this house has stood empty for the past 3 years through some wet Normandy winters too.
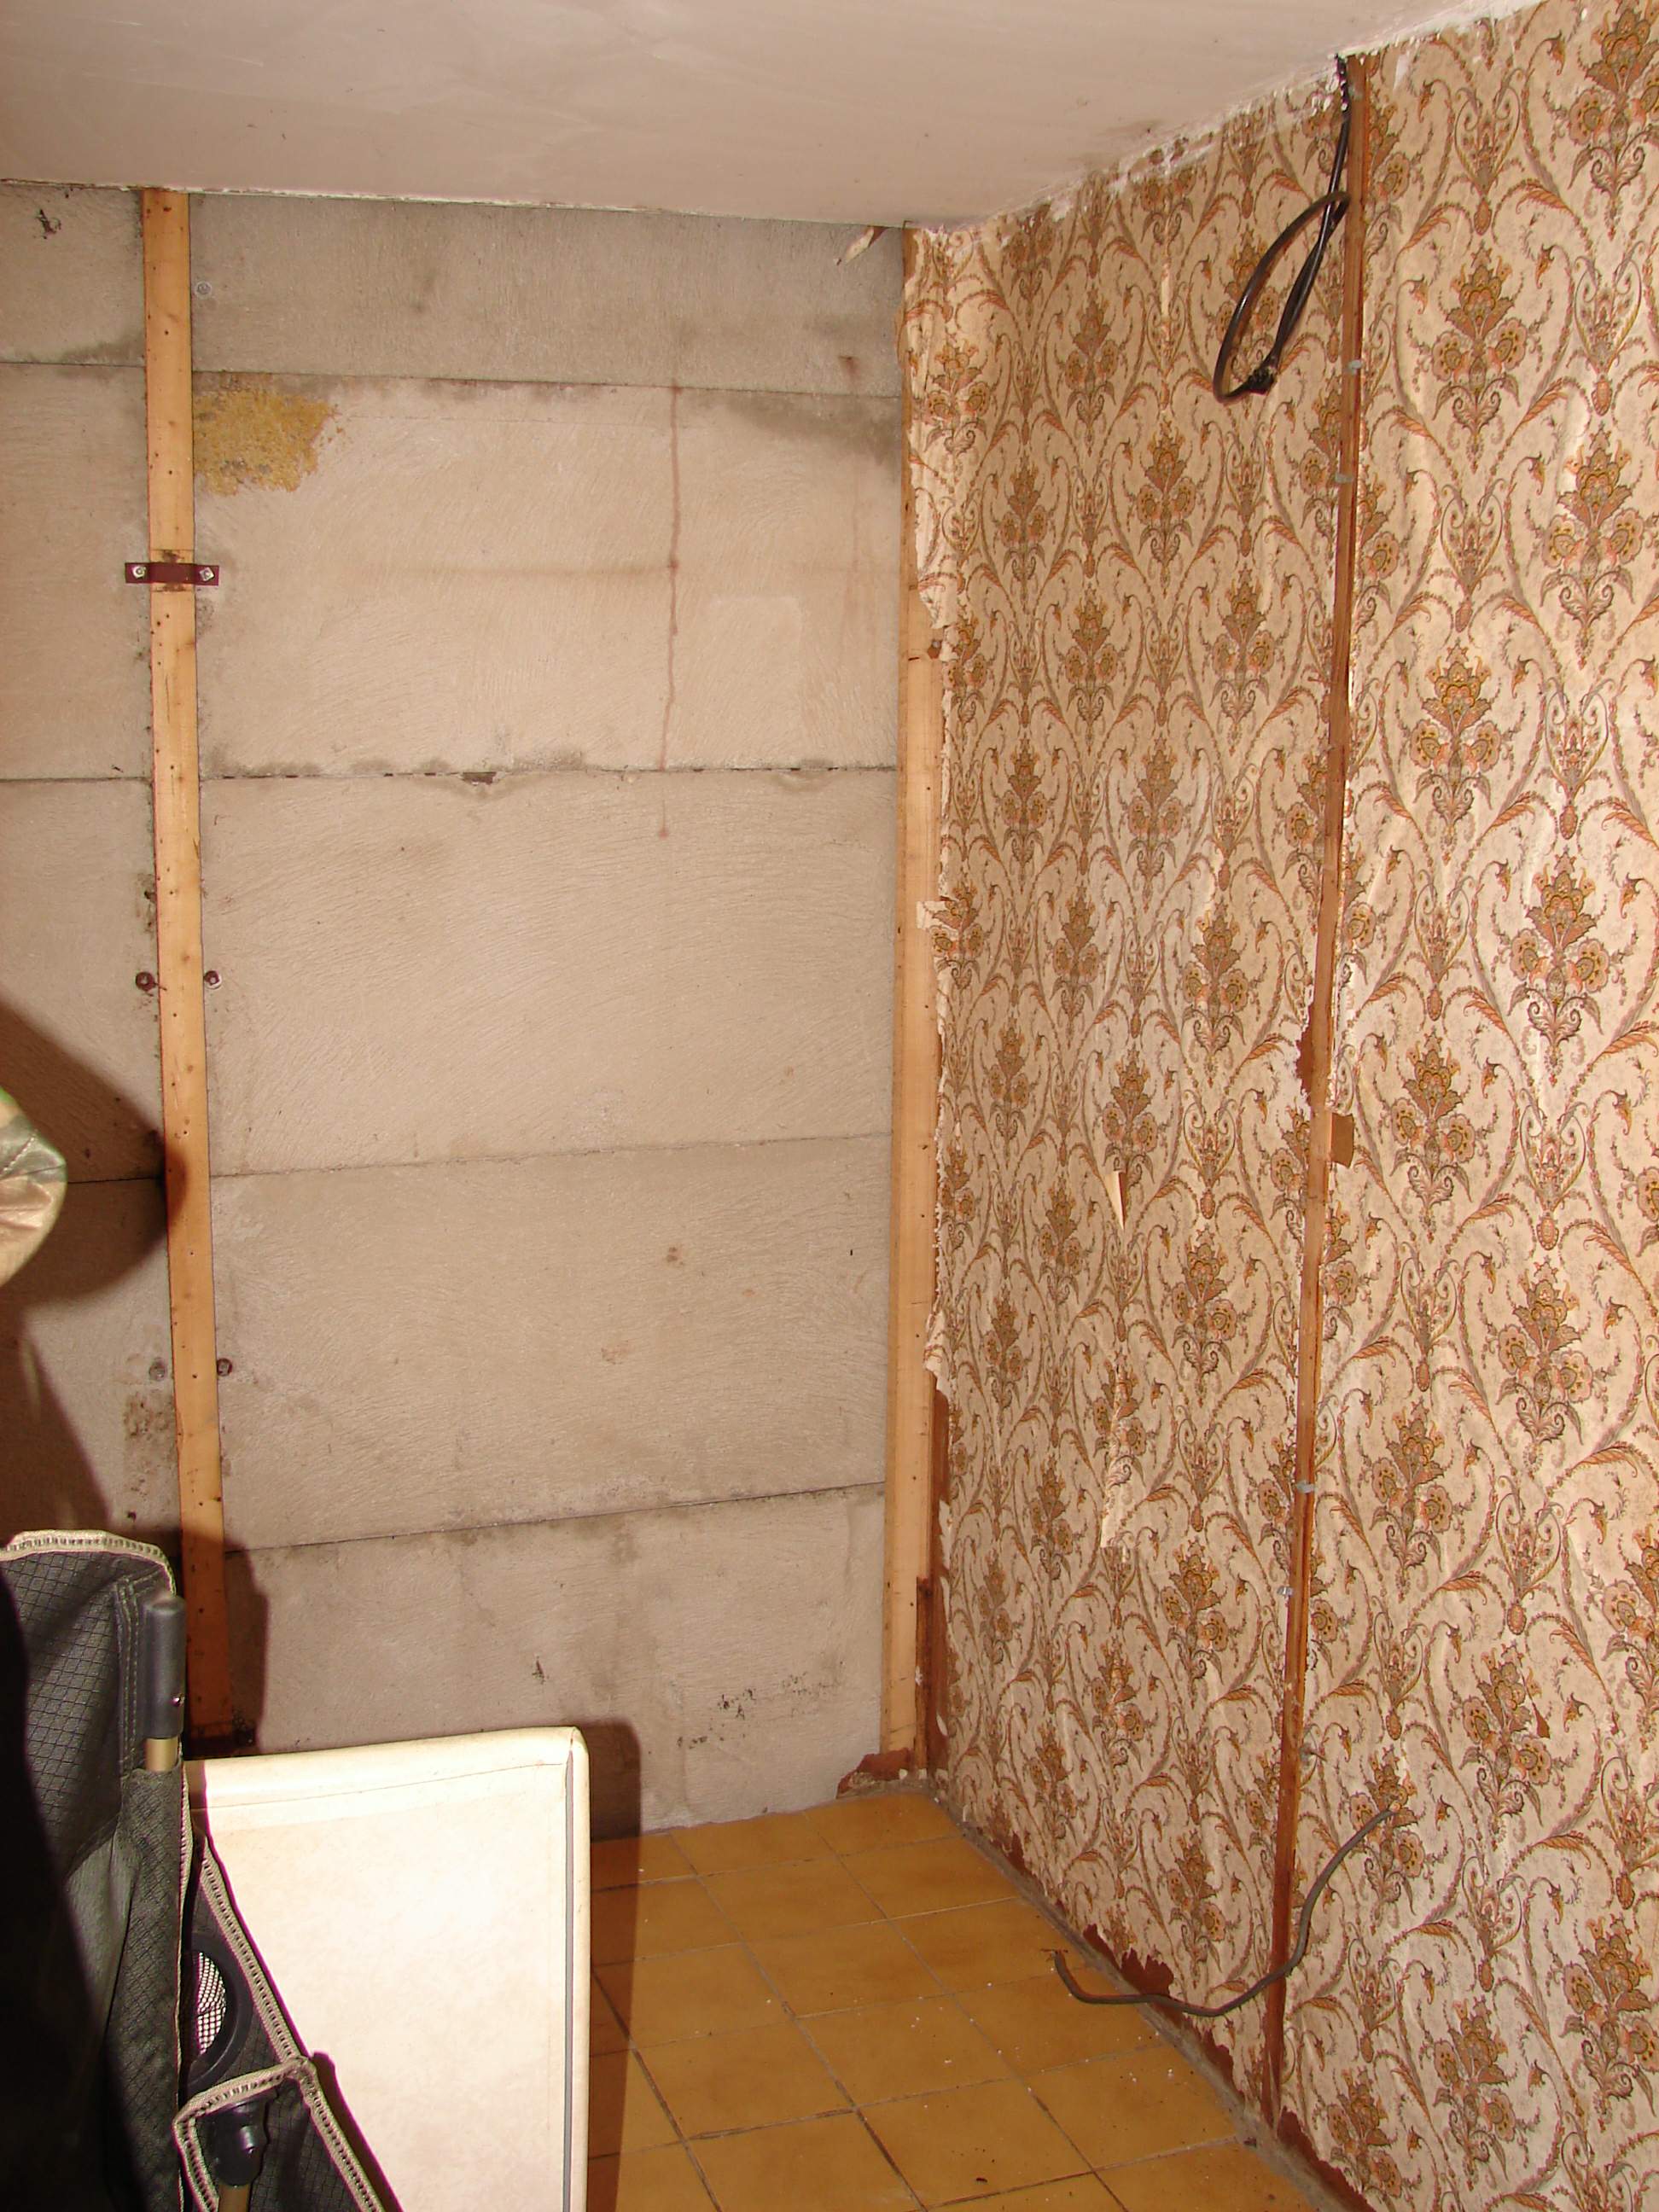
The adjacent panel was then ripped out and that too revealed dry concrete behind it.
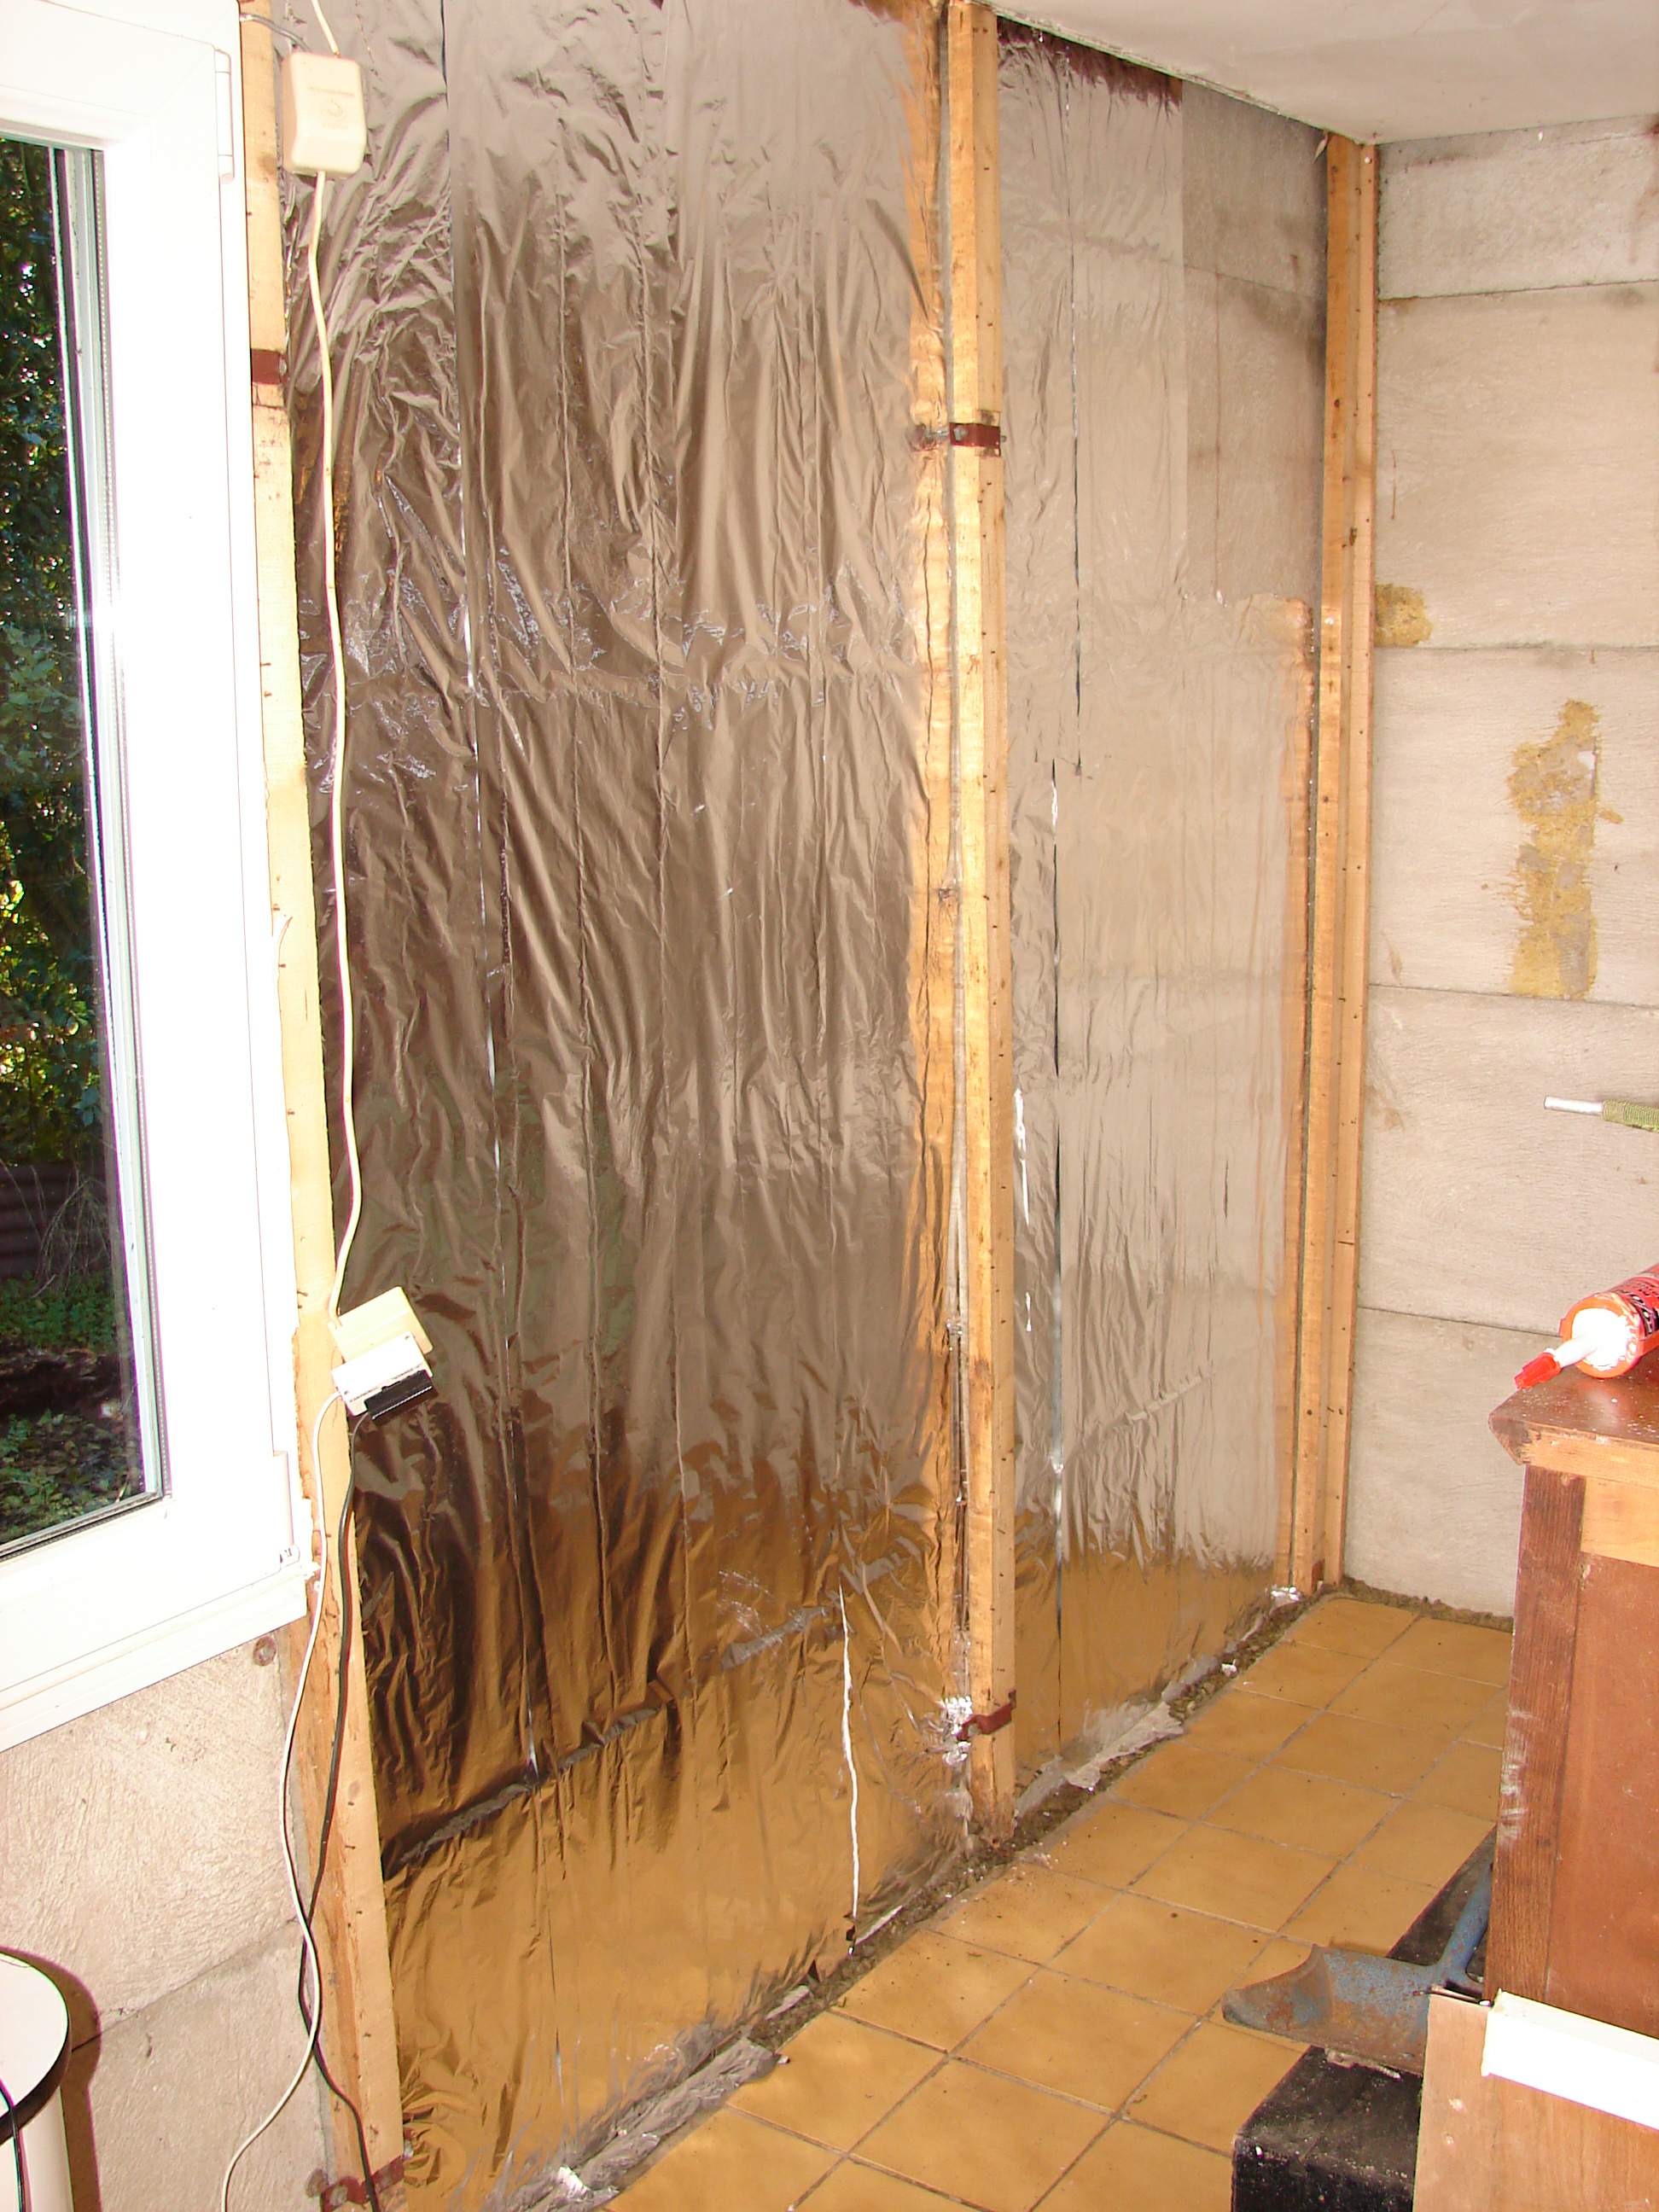
On went the silver foil “wallpaper”. I don’t know if this will work out well in the long term, but I figure every little bit of heat reflective layer has got to be a good thing, right?
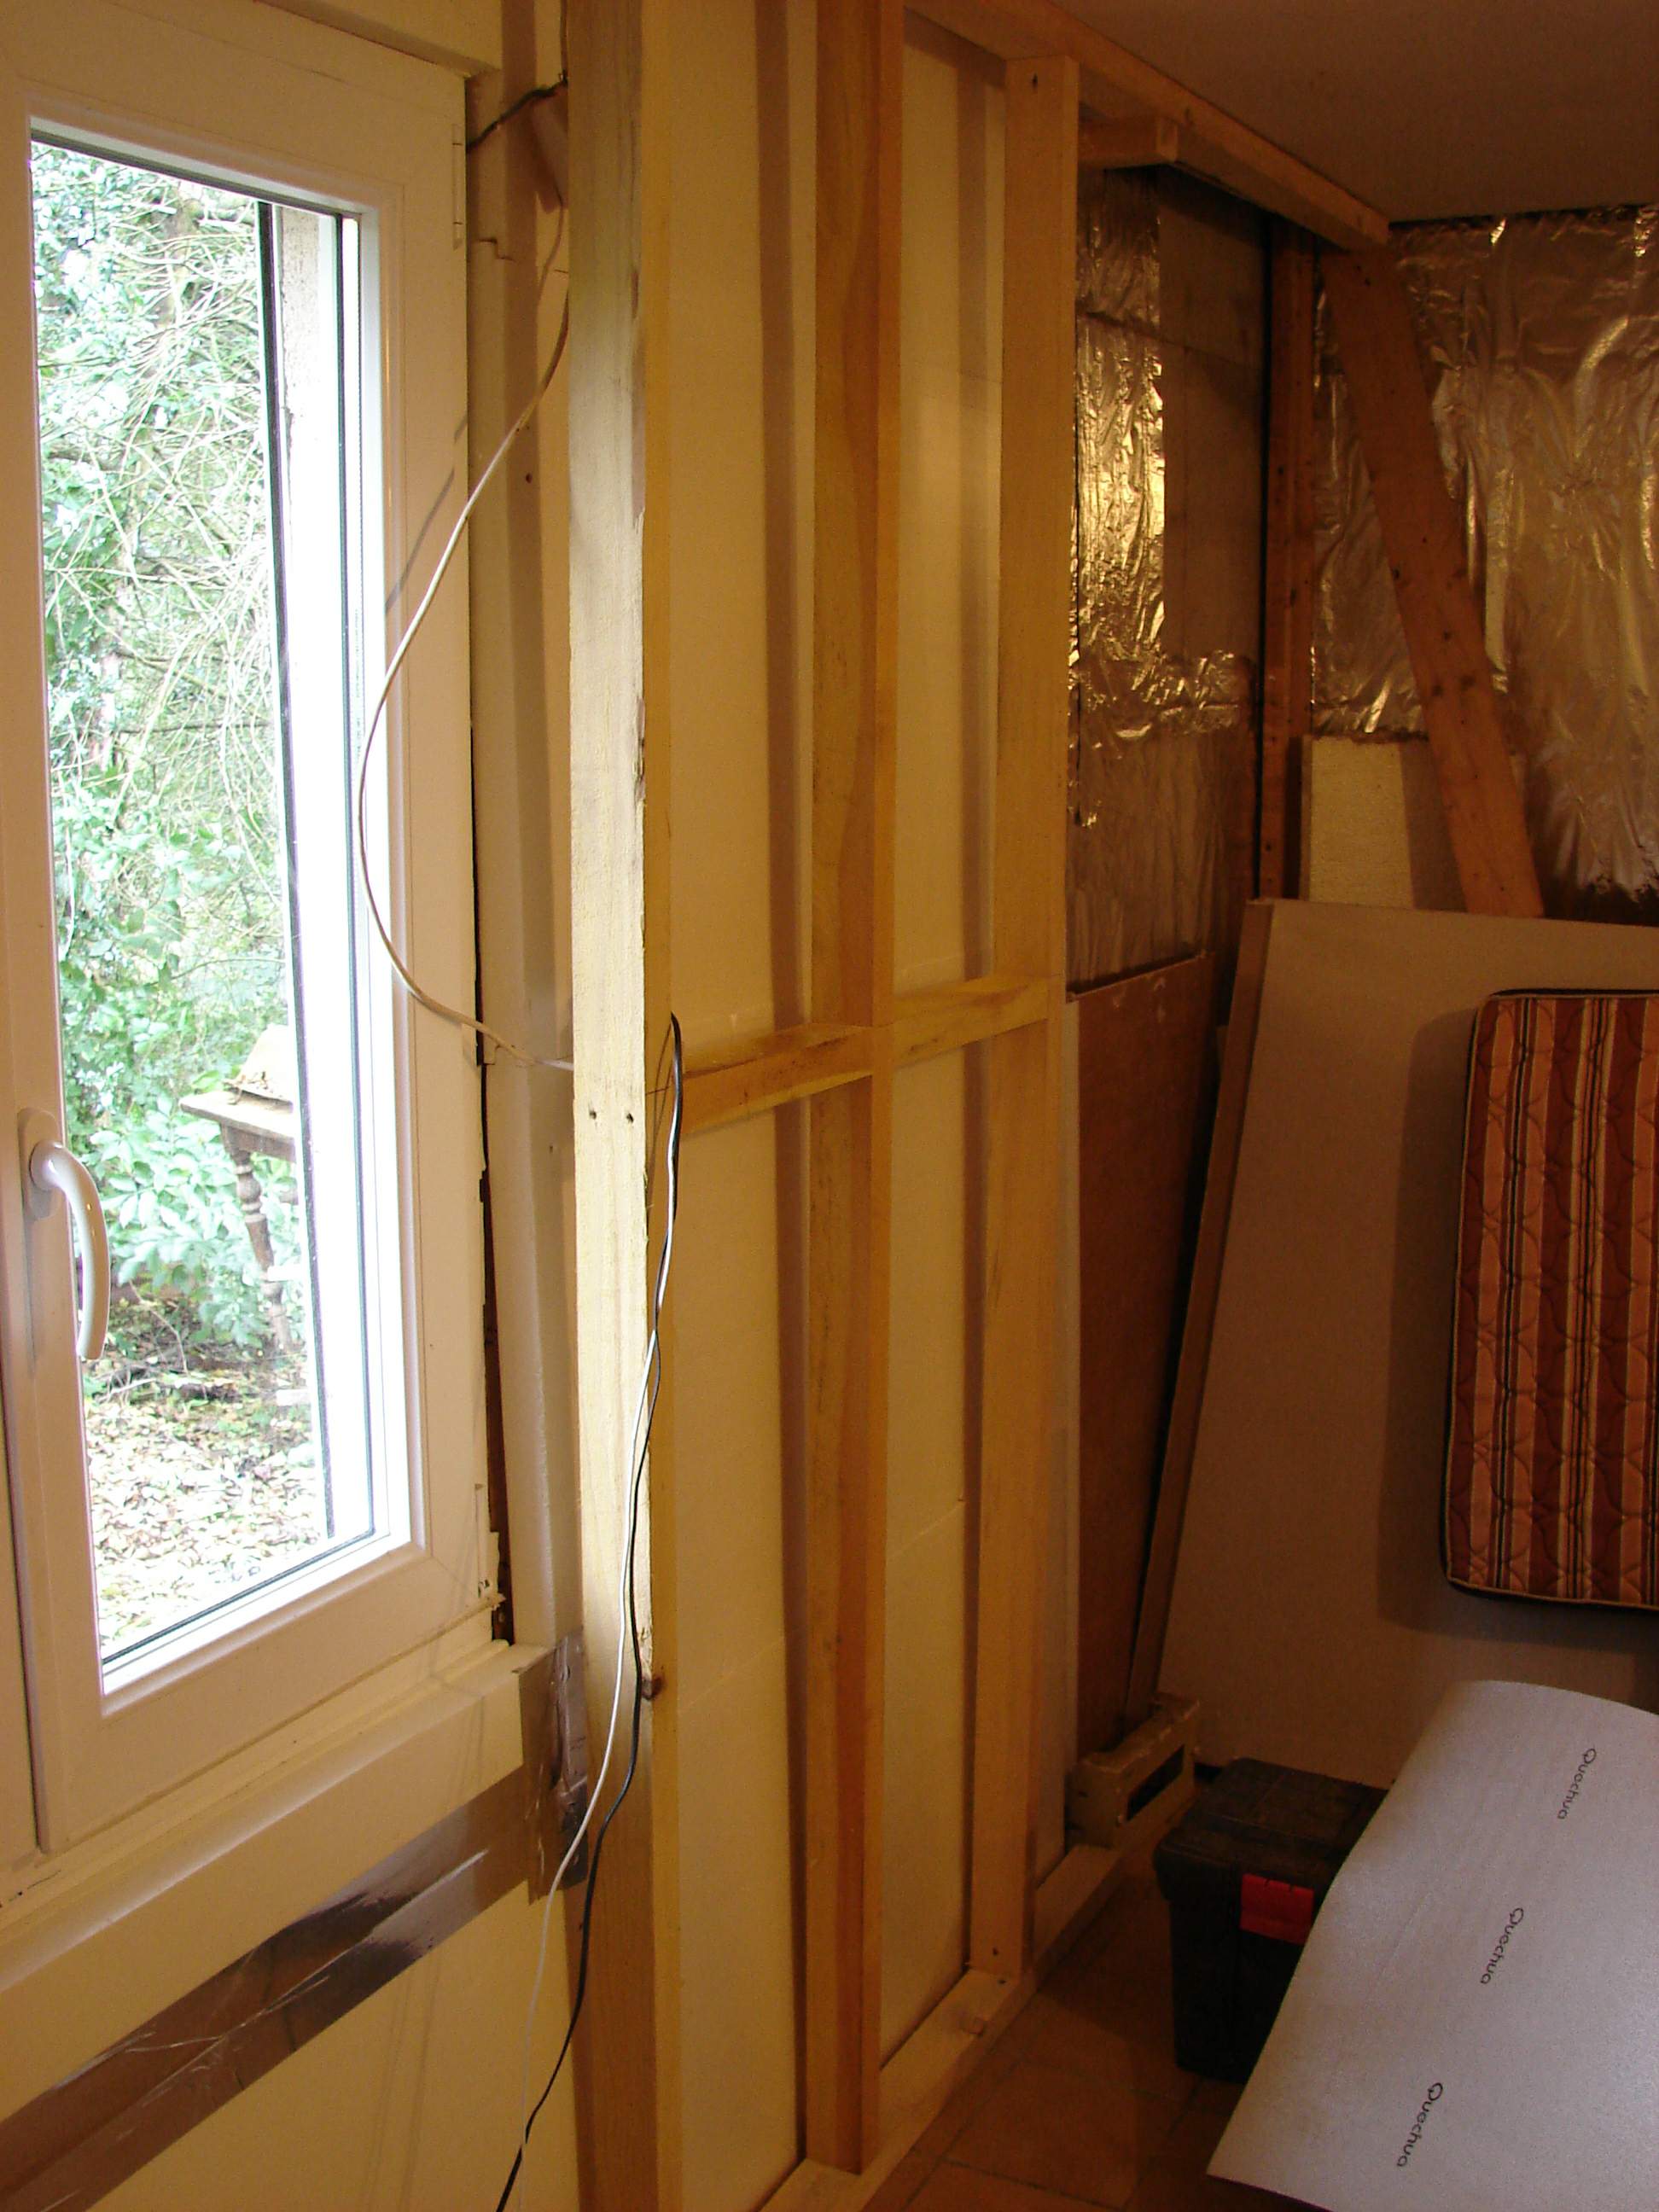
I put back the 30mm polystyrene but left it out of the corner where the woodburner will eventually be fitted. I’m trying to keep the risk of fire to an absolute minimum in that corner. After that was in place I fitted the 40mm solid insulation panels, again stopping where the fire will be.
Note the junk I keep having to shift from one side of the room to the other when working
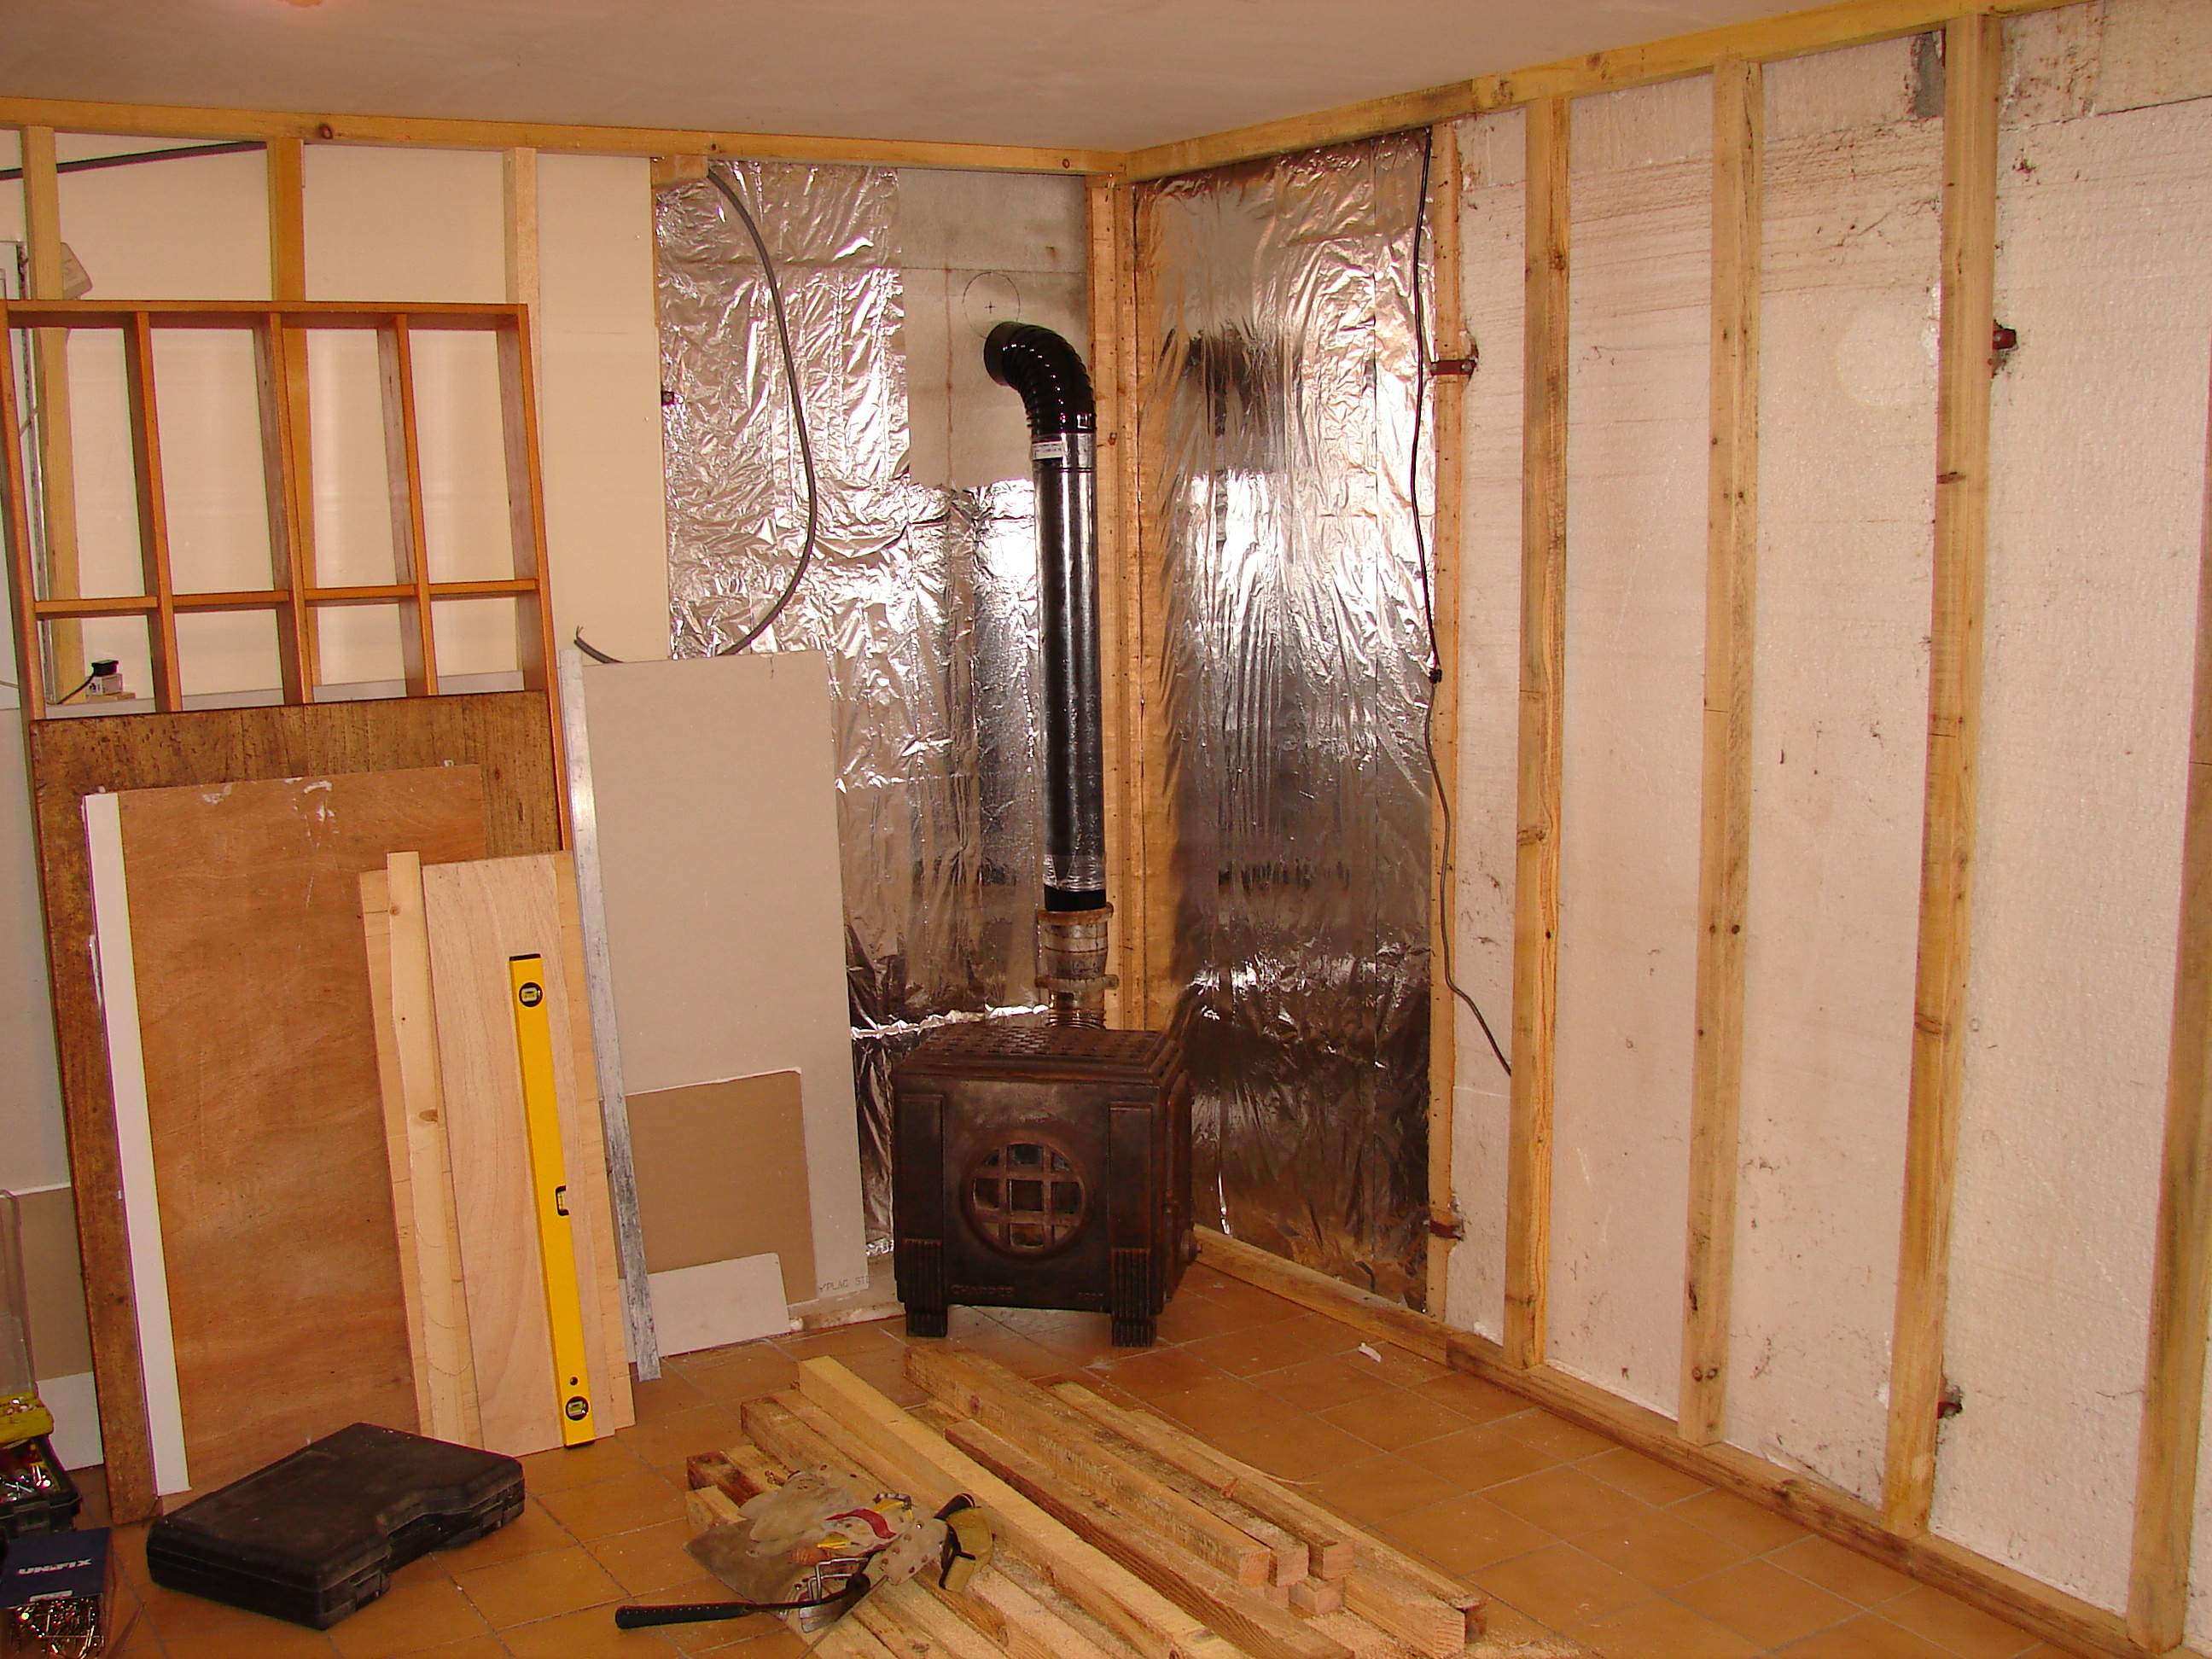
When building the studded partition walls I discovered the gable end wall had a slight lean to it. Slight being only about 50mm in a 2m drop! You can see how far out of plumb it is by looking at the shadow created by the 3×2 against the insulation. Having discovered this I examined the building a lot more closely looking for big cracks etc but found it isn’t anything to do with subsidence… it’s just the way Victor (the original owner/builder) built it. Another little foible I’ll have to get used to. Anyway, the internal walls will be vertical even if the outer skin isn’t.
And here’s my vintage woodburner set roughly in place just to get the idea of how it will eventually look (I hope). I bought the woodburner made by Chappée from a “garage sale” I happened to spot on the way back from someplace soon after Alison (my former partner) and I had moved to France. Weighing in at 40kg it’s a 1930’s Art Deco style multiburner (wood and coal) which I restored back to full working order. Alison and I used this our second winter in our house and it worked a treat. I paid the princely sum of €15 for it in 2005. I’ve just seen one on eBay going for a lot more. The black enameled 125mm stove pipe will eventually exit through the back wall then upwards above the roof line. This is a project I will be doing in the next couple of weeks.
I’m also going to build a natural rustic stone hearth for it to sit on to raise it higher off the floor
Using fire retardant fibreglass insulation seemed the logical alternative in this area so I really packed in it there behind the wooden partitioning. Yes, there is a risk the wood could ignite but I wasn’t prepared to use metal “rack and rail” studding as that could get really hot. I did give this a lot of thought. I’m an ex-firefighter (retained) so I’m being belt and braces here. The adjacent wall also began to take shape. That is the internal wall between the living room and what will one day be my bedroom. I just wanted a new studded wall fitted there and this also allows me to run electric conduits behind it.
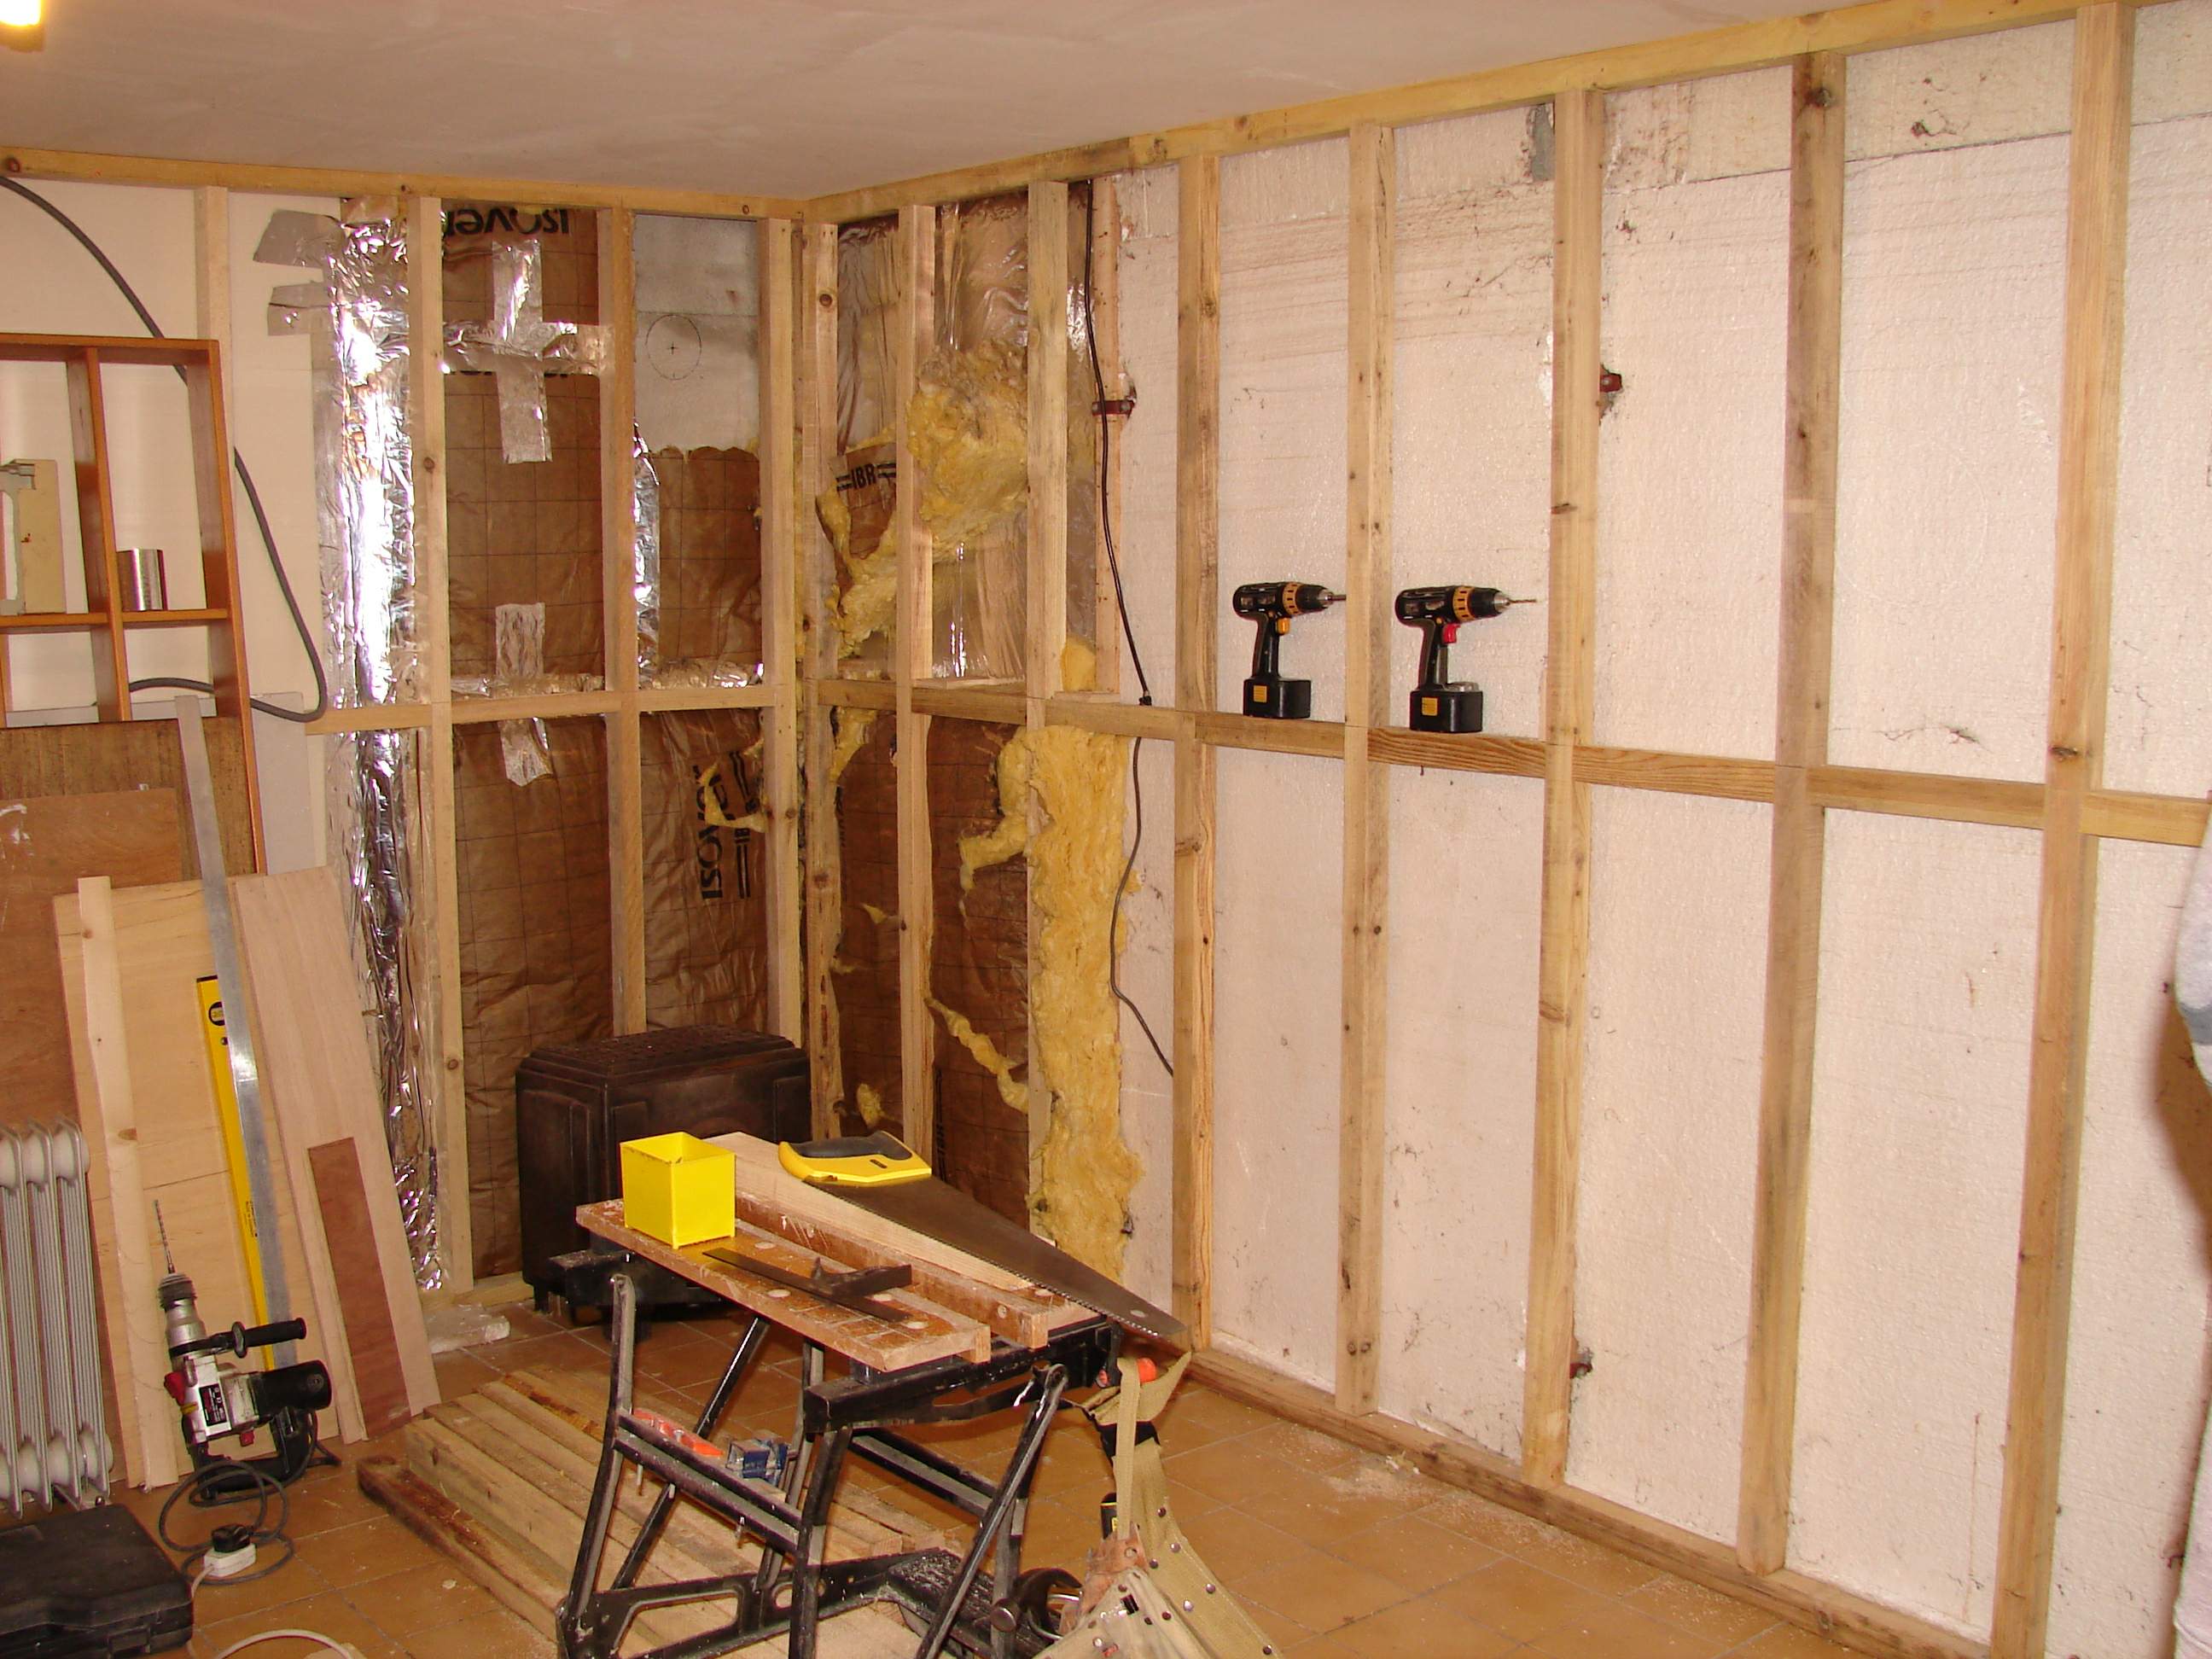
I wasn’t really happy with the 200mm fibreglass matting tightly compressed into a 100mm gap. If it’s compacted too densely the insulation qualities are reduced. So I took it all out again and fitted 100mm insulation between the studs, this also allows a gap between the outer and inner walls for some air circulation as well. Then I began fixing on the plasterboard.
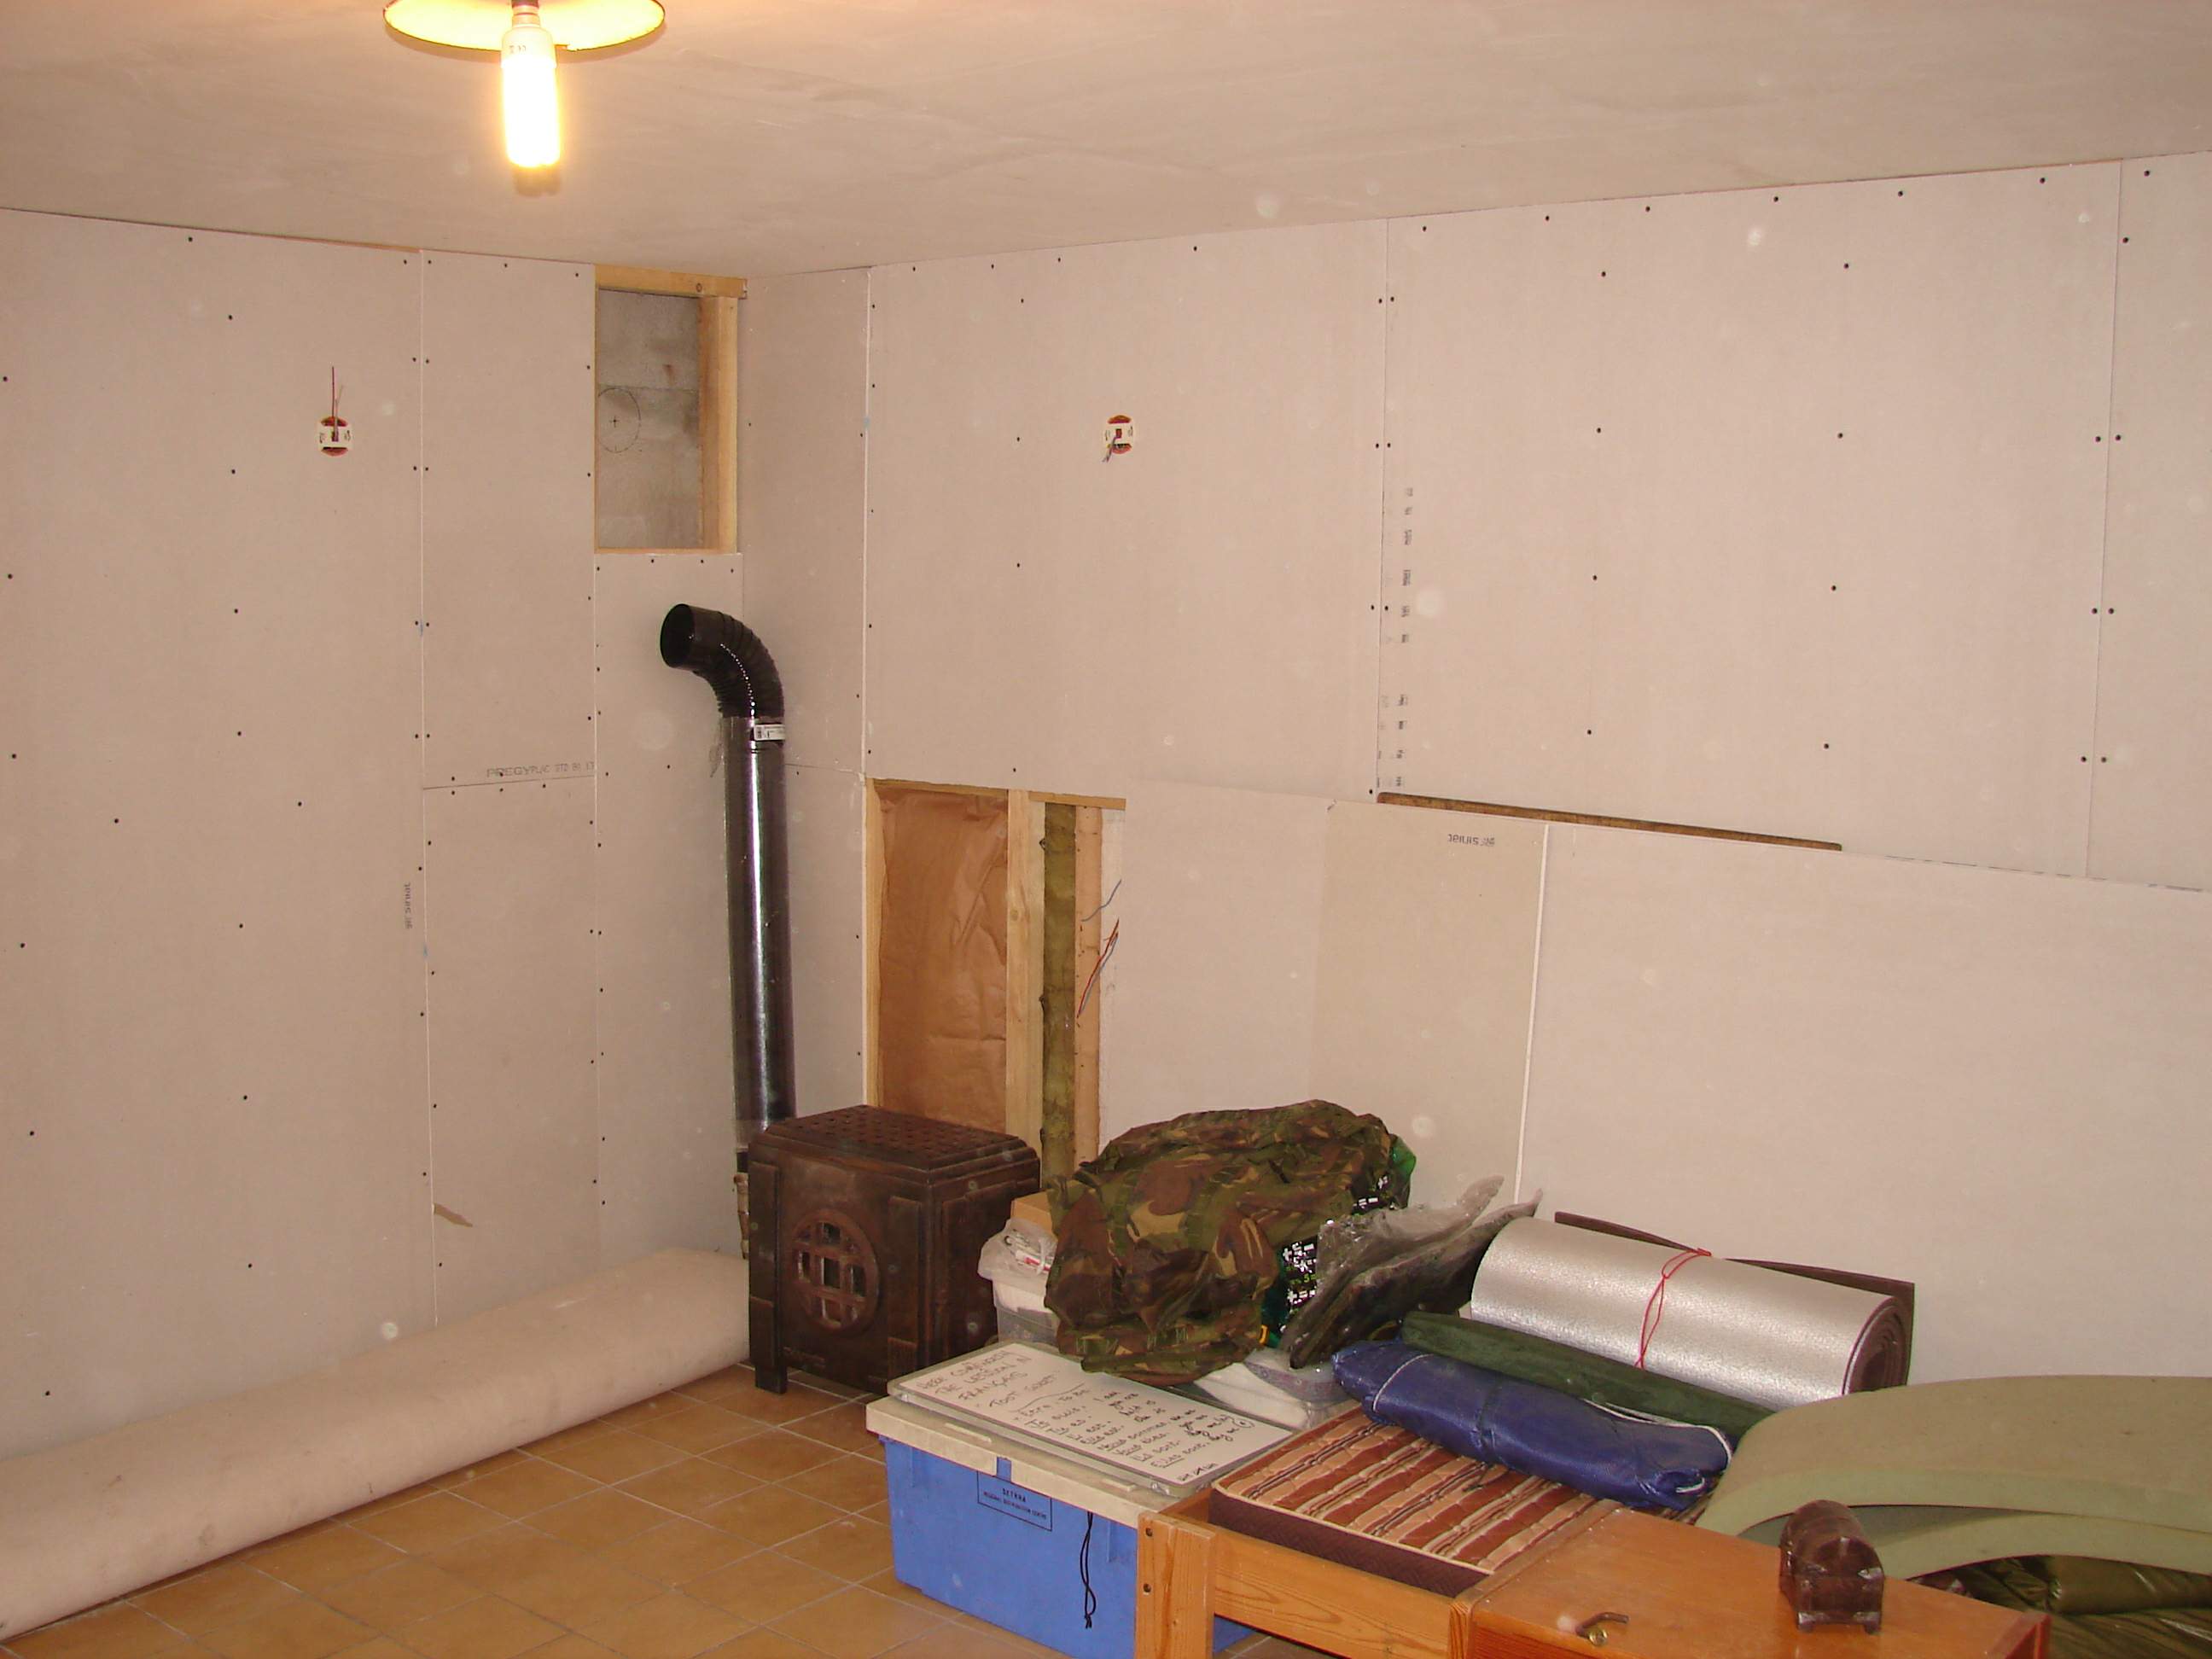
And this is how it looks as of November 28th.
Like I said the installation of the woodburner will start in the second week of December when my Brother, Matthew, is coming over to help me a bit. Having two pairs of hand on the job will help a lot. My mother’s also coming along to fit the curtains! Boy is she in for a surprise, last I heard you need walls and curtain rails to fit them to Hehehehehehe!
Thanks for reading. Your comments always welcomed.
There’ll be a part two to this fireplace page once it gets done and the stonework tiles fitted behind it. I have big plans for this fireplace. A fireplace is the centre of a room so they need to be really well done and make an impact. I’m hoping mine will have that wow factor too.

Hi Aaron, going good!
The dry concrete is a great thing, but the alufoil might spoil that. Condensationwater might collect of it, when the foil gets cold and then has no place to go, so runs down.
I am already impressed by the stove! Love the massice, square appearance!
Thanks for the reply Ron.
I hear what you’re saying about condensation and all, but there’s a 50mm gap between the ceiling where it meets the concrete wall so there’s plenty of space for evaporation up into the roof space. At the base of the concrete walls there’s also a big gap between where the floor had met the internal panels. This gap I filled with gravel to act as a sort of soakaway, though once all the plasterboard is up and the small air vents fitted I doubt condensation will be a problem… if that woodburner performs as well as it did in our old sitting room, keeping cool could be a problem in there. I’ll just have to cope somehow LOL!
That woodburner I linked to above is now at £137 with £75 P&P. I’ve seen another one of eBay just like it but nowhere near in as good condition.
On my woodburner the old mica window “glass” was ruined on mine so I had ceramic glass cut which and I then fitted it in place. Works a treat and having the light from the flickering flames is always a comforting thing on a cold winters night.
Looks great, Aaron. Can’t wait to visit when it’s all warm and cosy!!! (Still looks like a diver’s helmet though!!)
Thanks Alison. Long way short of being as warm and cosy as it could be but it’s getting there. Certainly better and much dryer than it was when I first poked my nose through the door back in July. This time next year I hope it’ll be very different. You’ll be welcome to see it whenever you’re over this way
Say what you like about the love child of the diver’s helmet and the bank safe. I still love that woodburner! Hehehehehe.
We did have real problems behind our big woodburner Aaron (the Esse) – we ended up putting a 3mm steel heat shield behind it. Stone tiles should work but be sure of the right heat proof adhesives and grout! Hugh
You have been busy!
It is looking good and I love the stove!
Theres a few folk on the Bay making a handsome living by sourcing lovely French enamel stoves and bringing them over by the trailerload, doing them up (or not!) and flogging them over here 🙂